
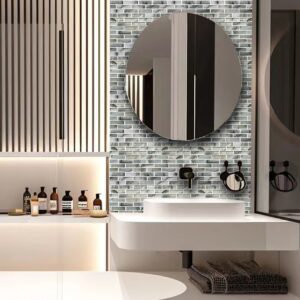
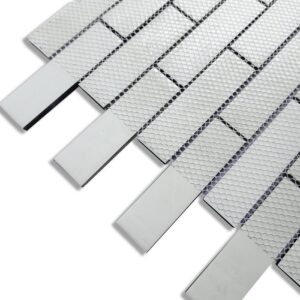
Mesh Mounted
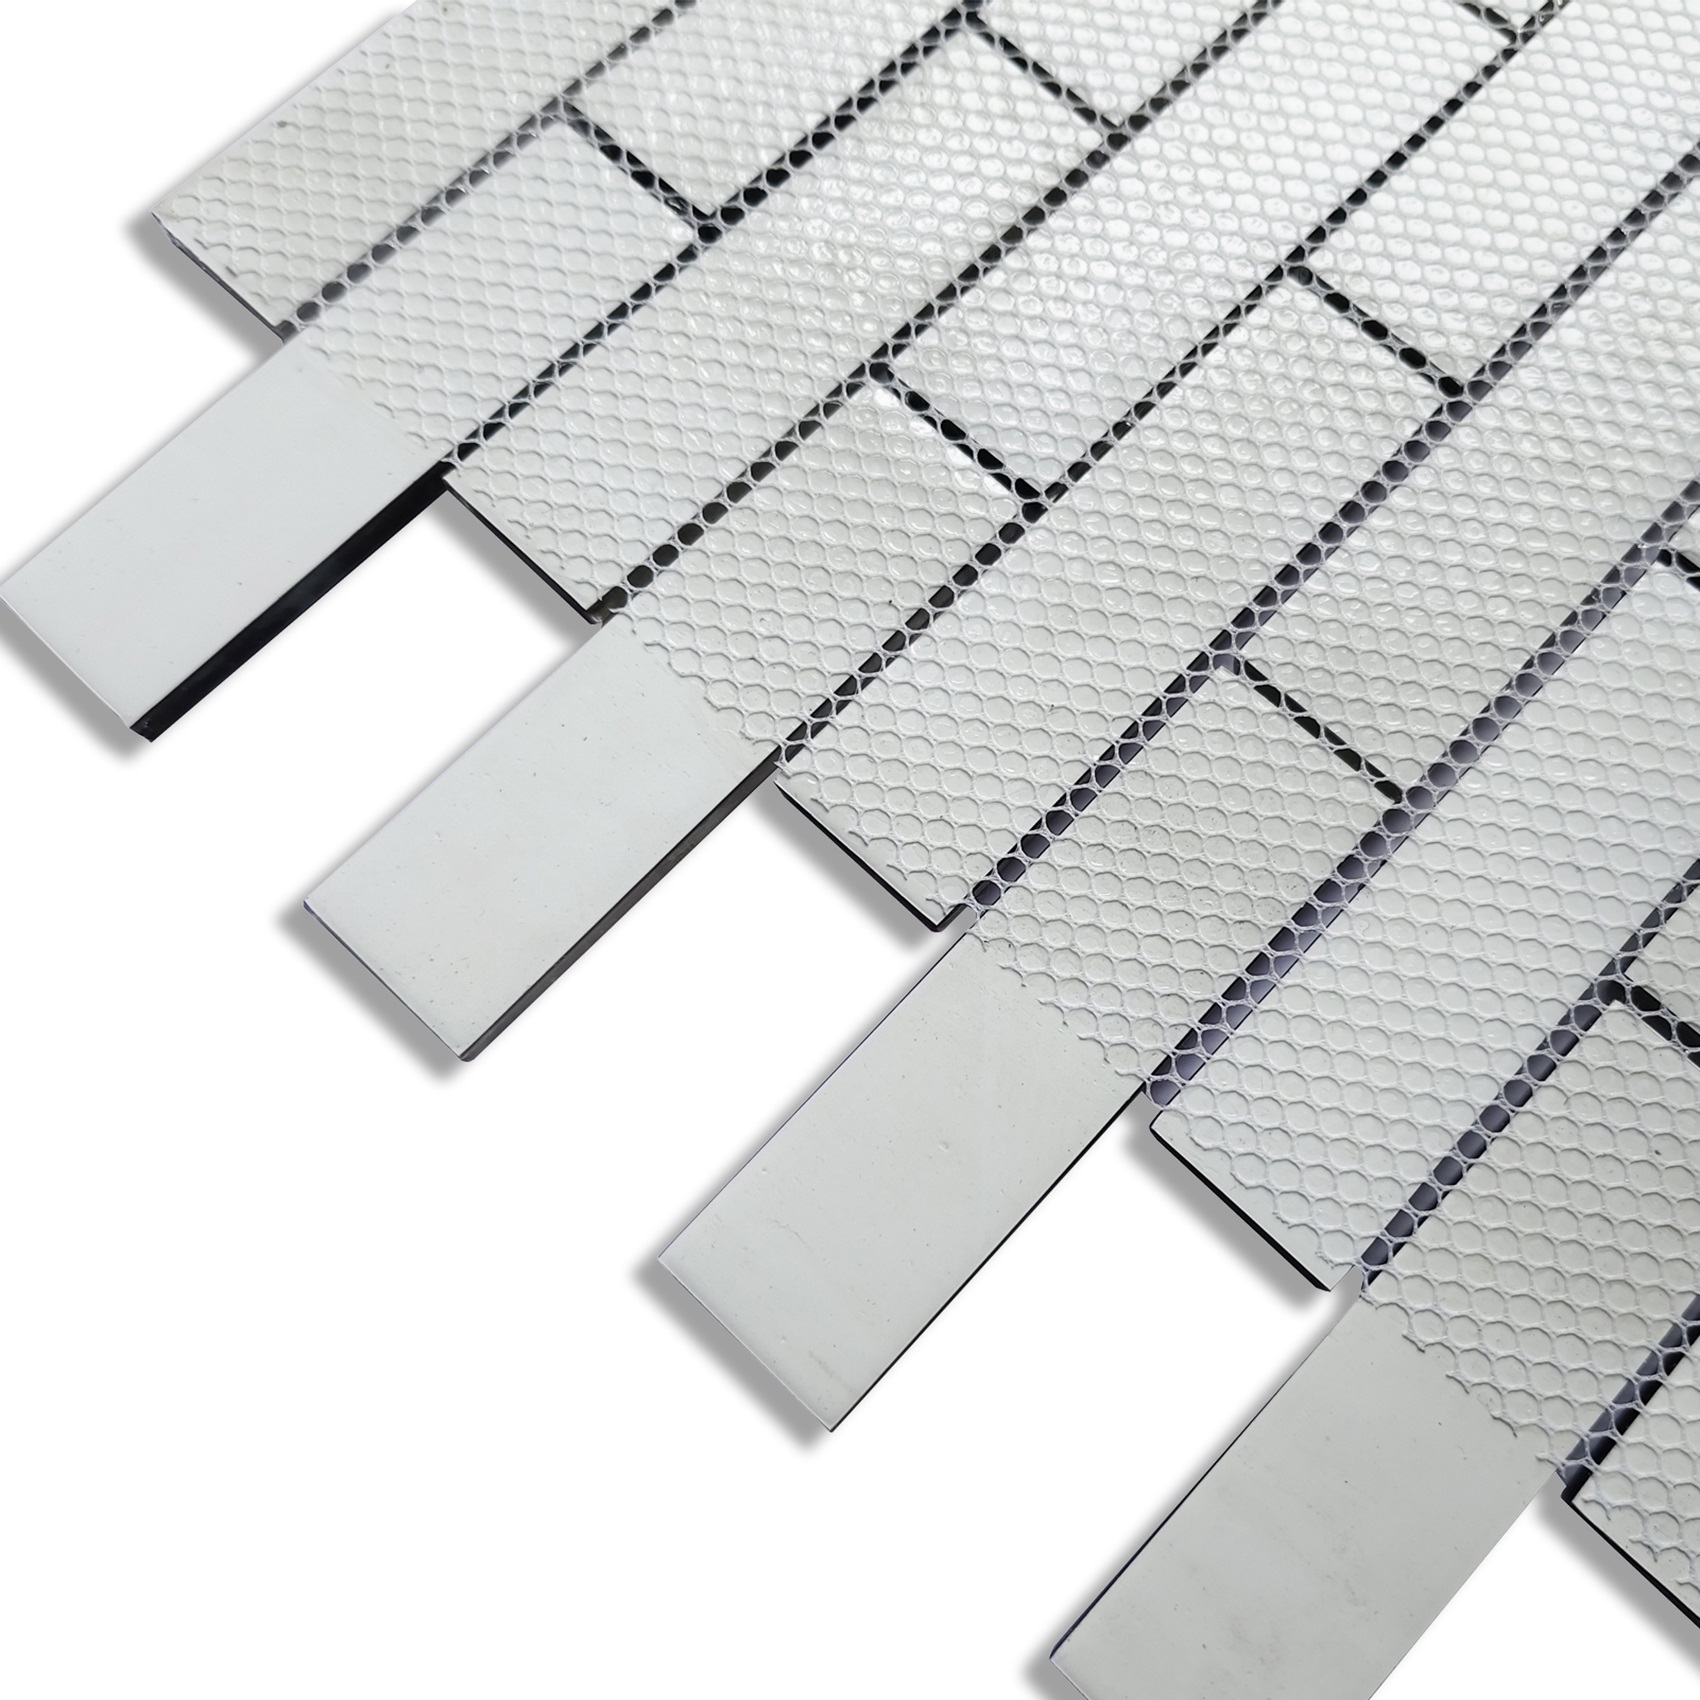
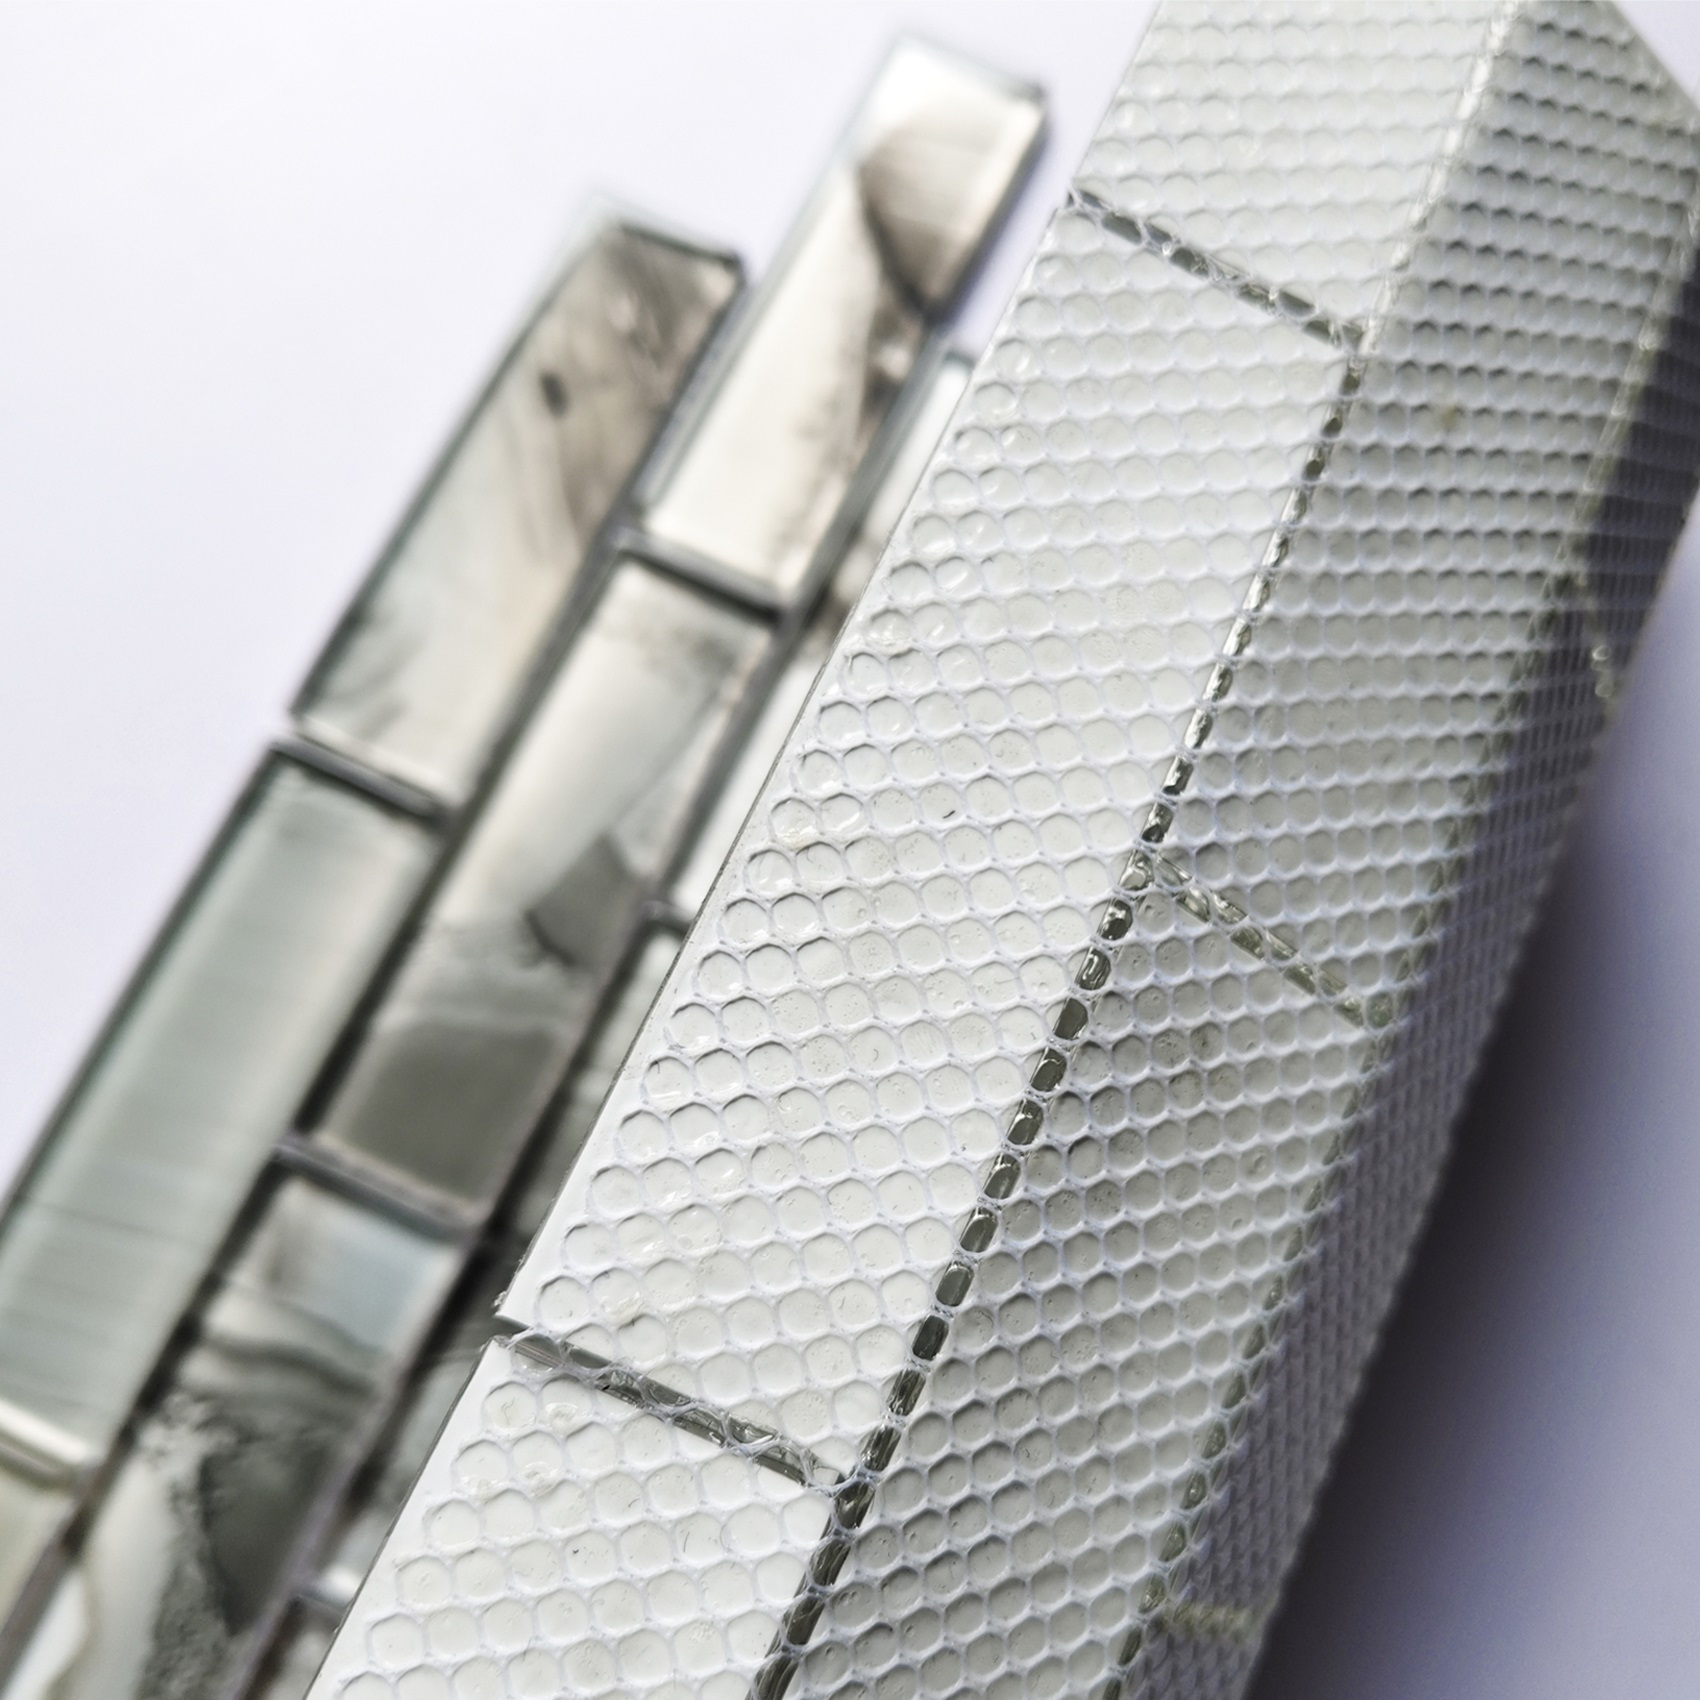
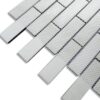
The mesh backing ensures easy handling and precise alignment, making installation a breeze for DIY enthusiasts and professionals alike.
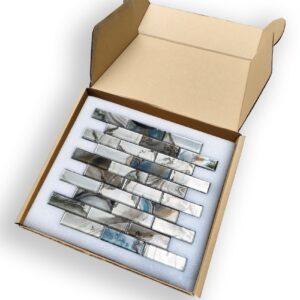
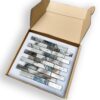
Strengthen Box
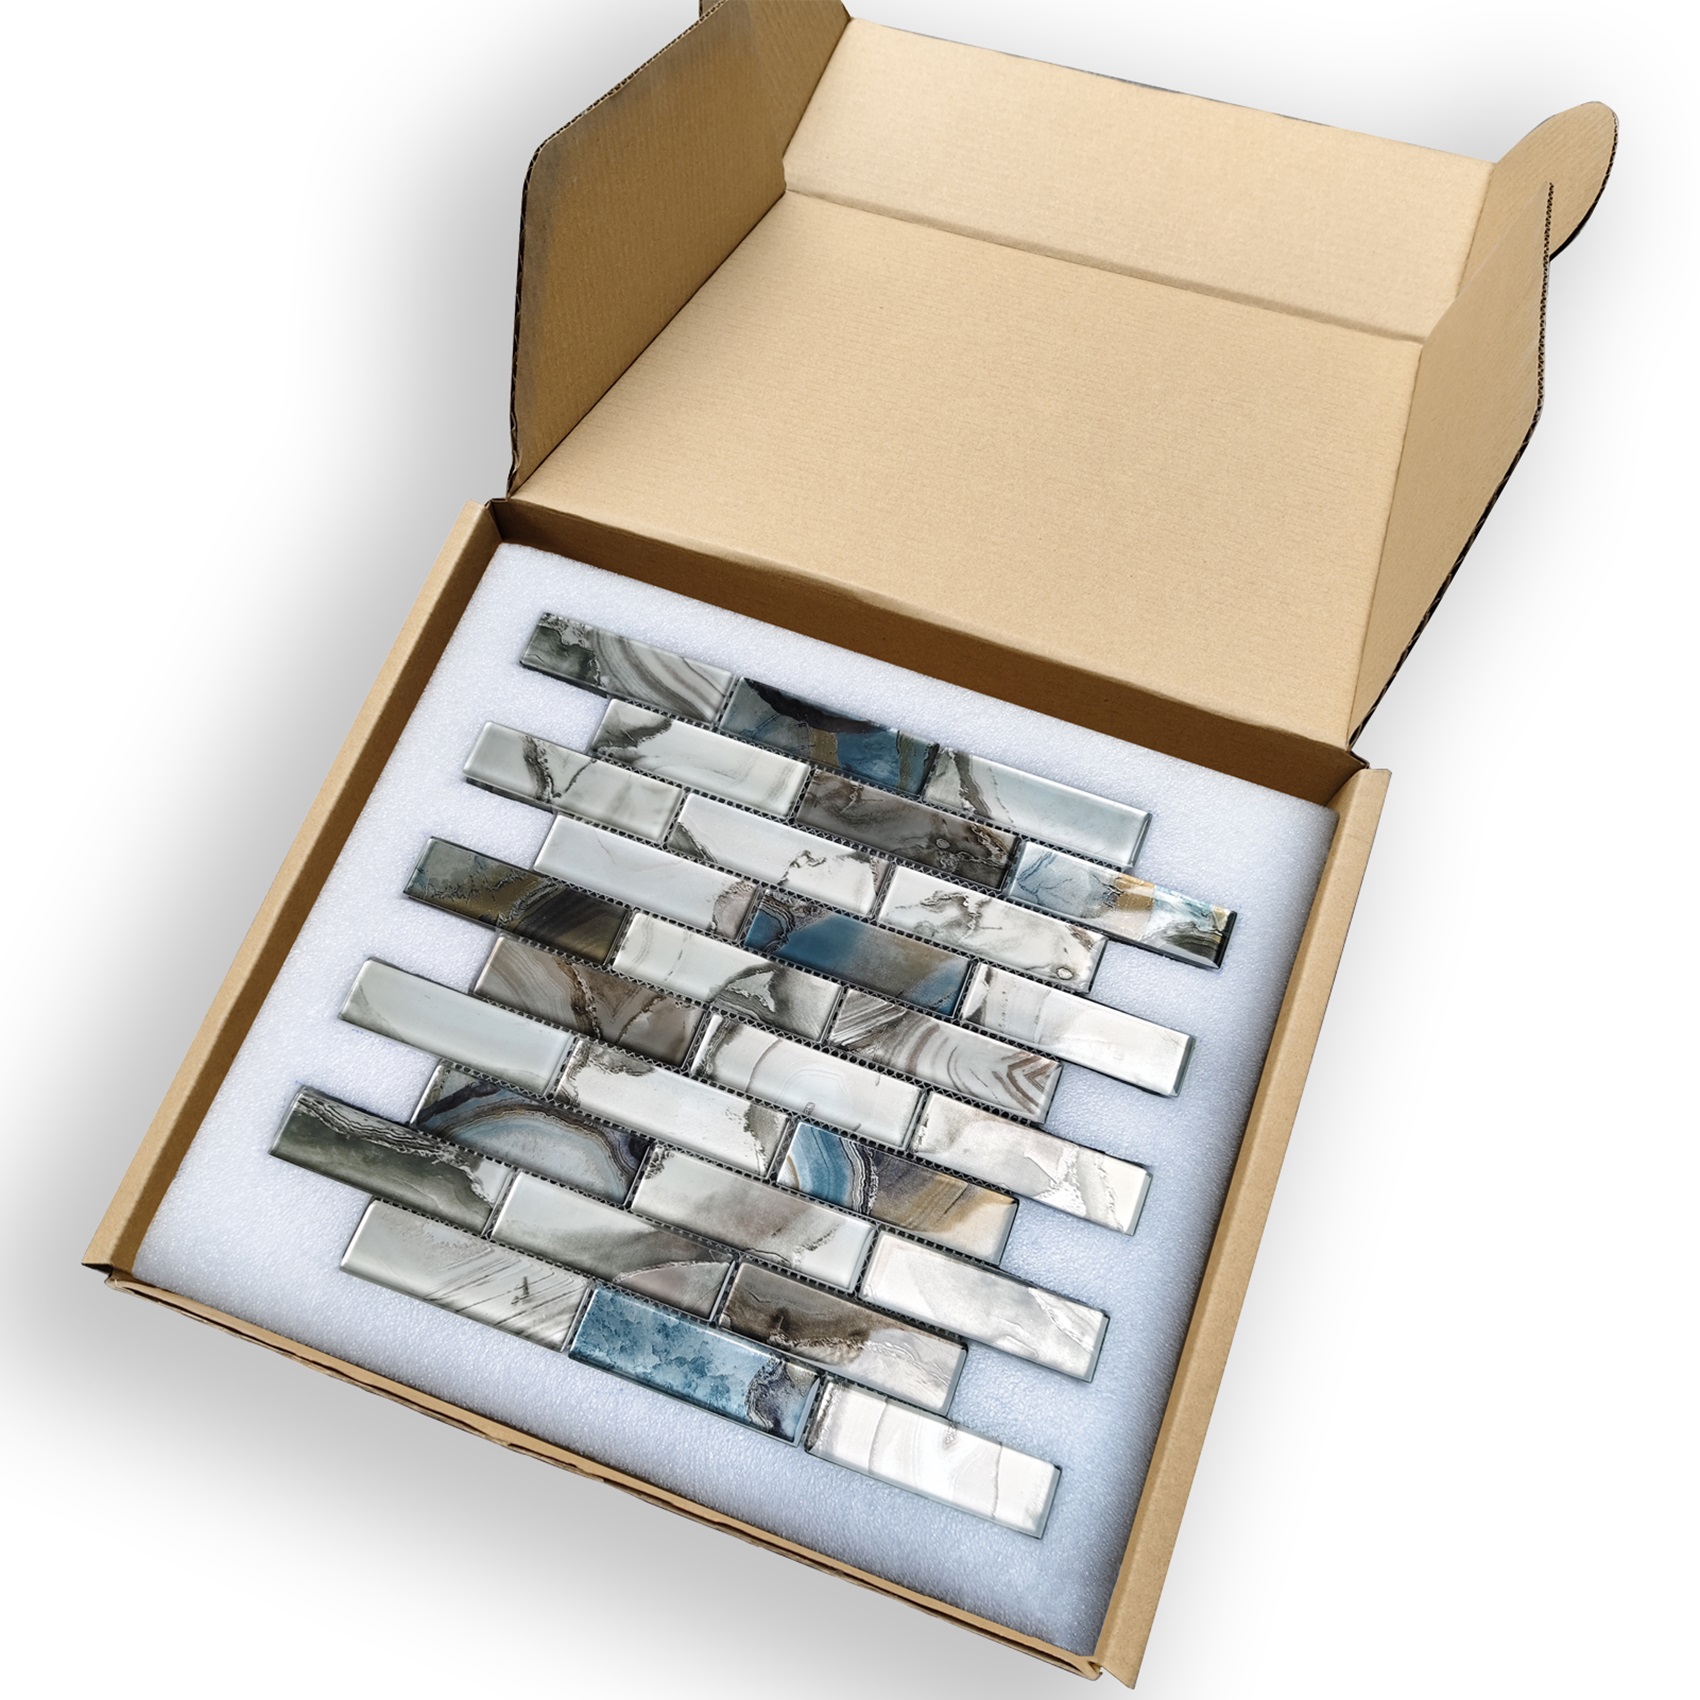
Our durable boxes ensure that your glass tiles arrive intact and undamaged, providing peace of mind during transit and storage.
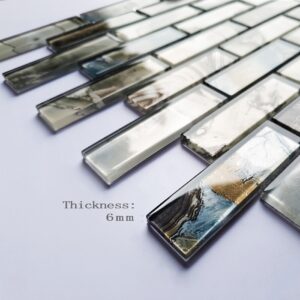
Original Design
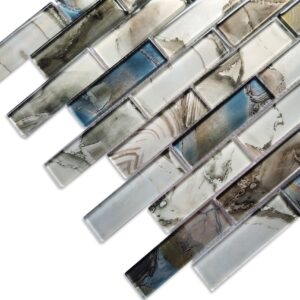
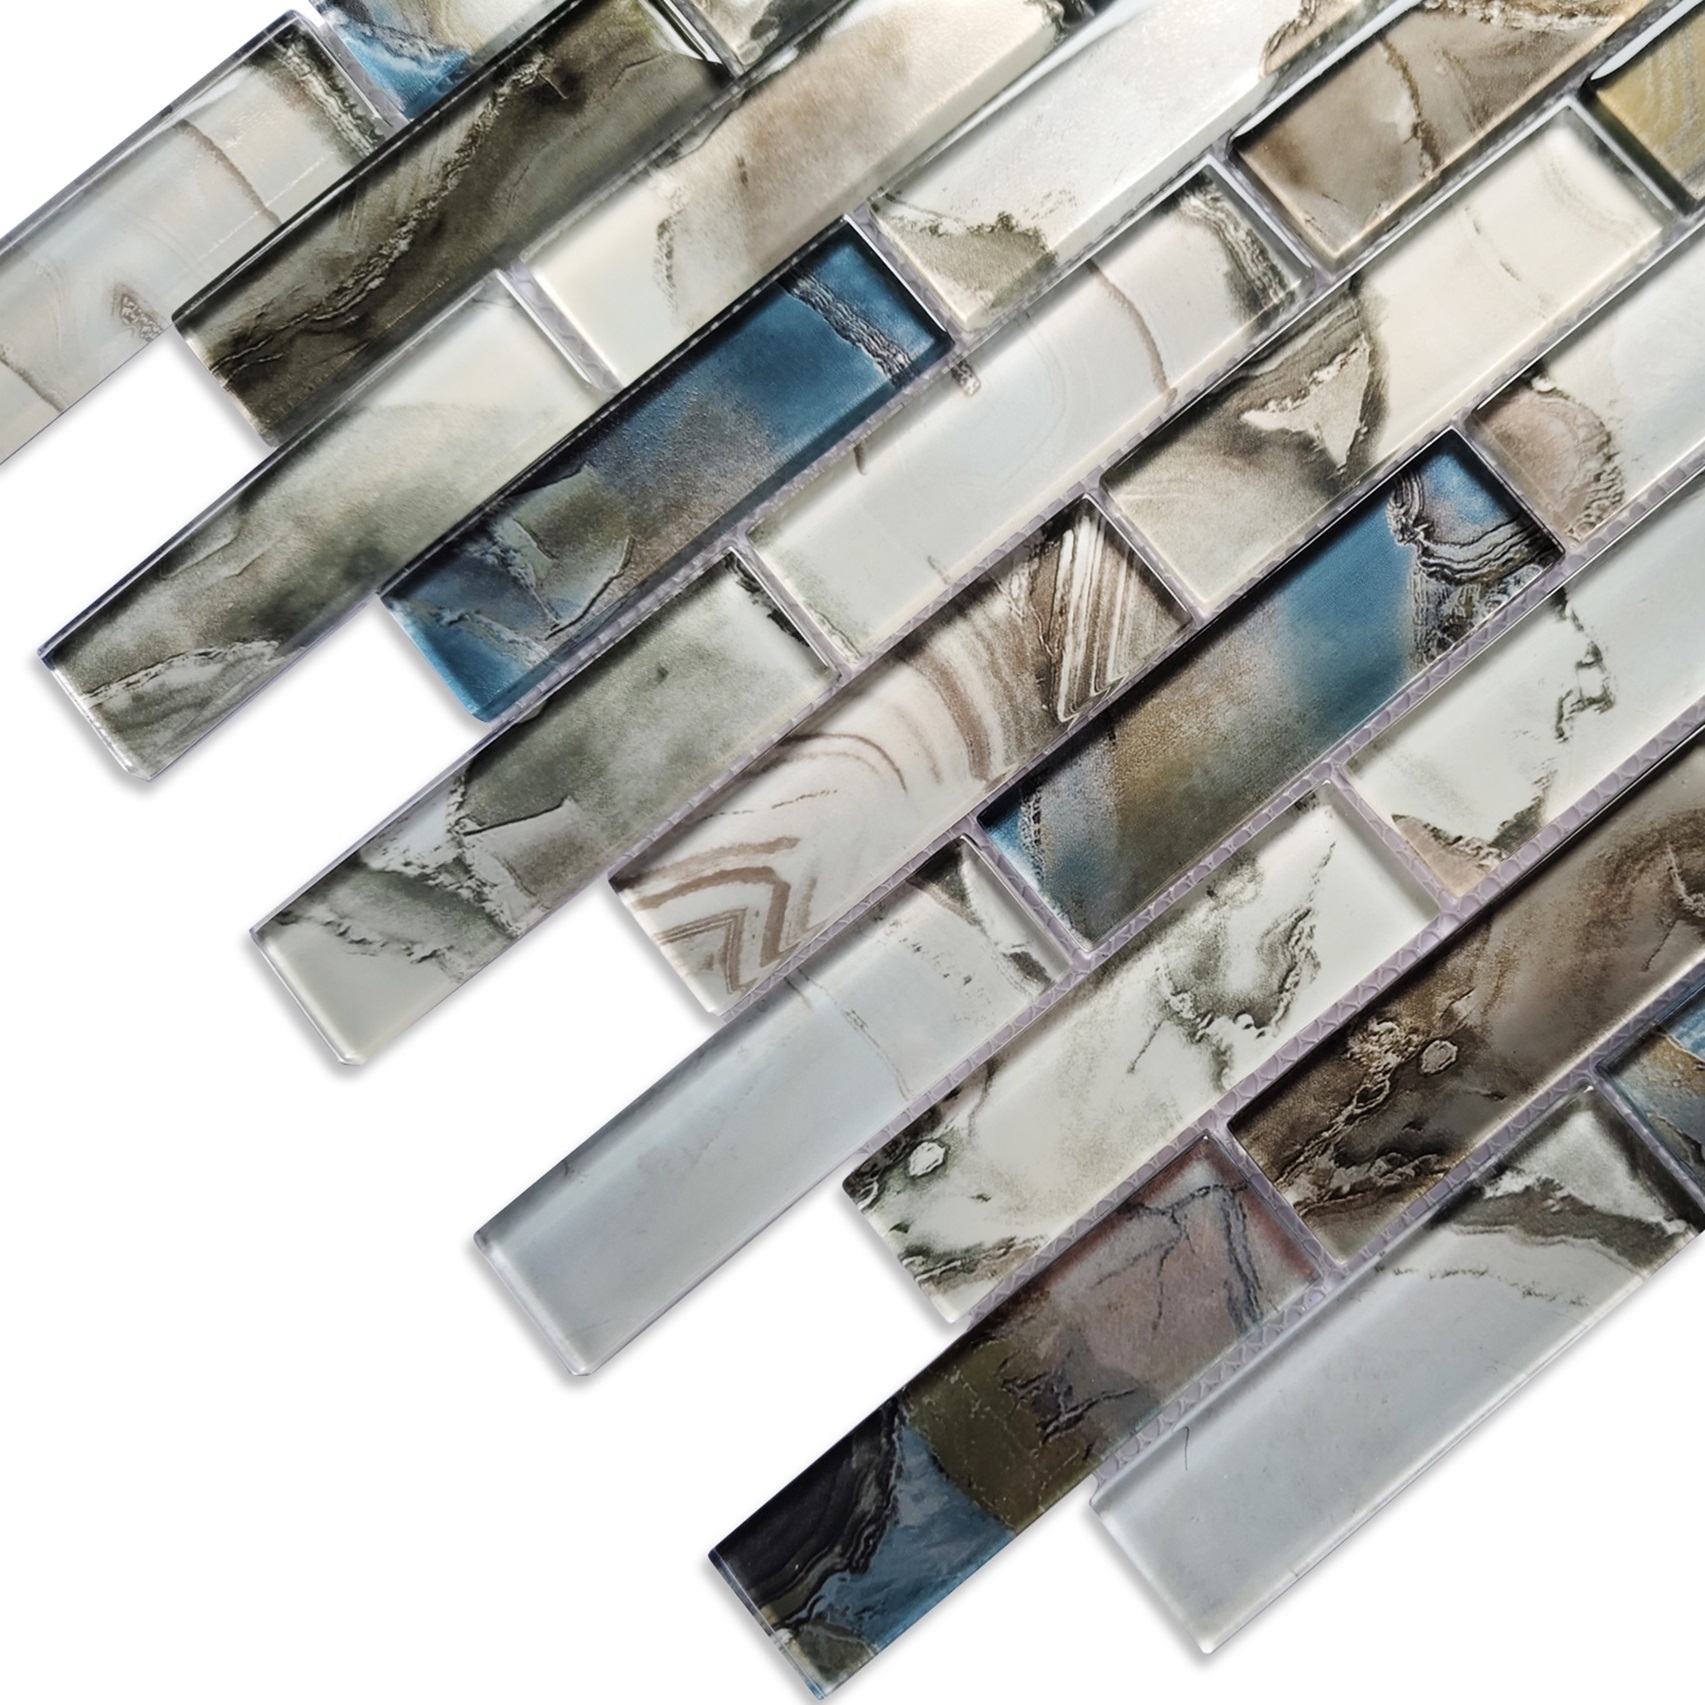
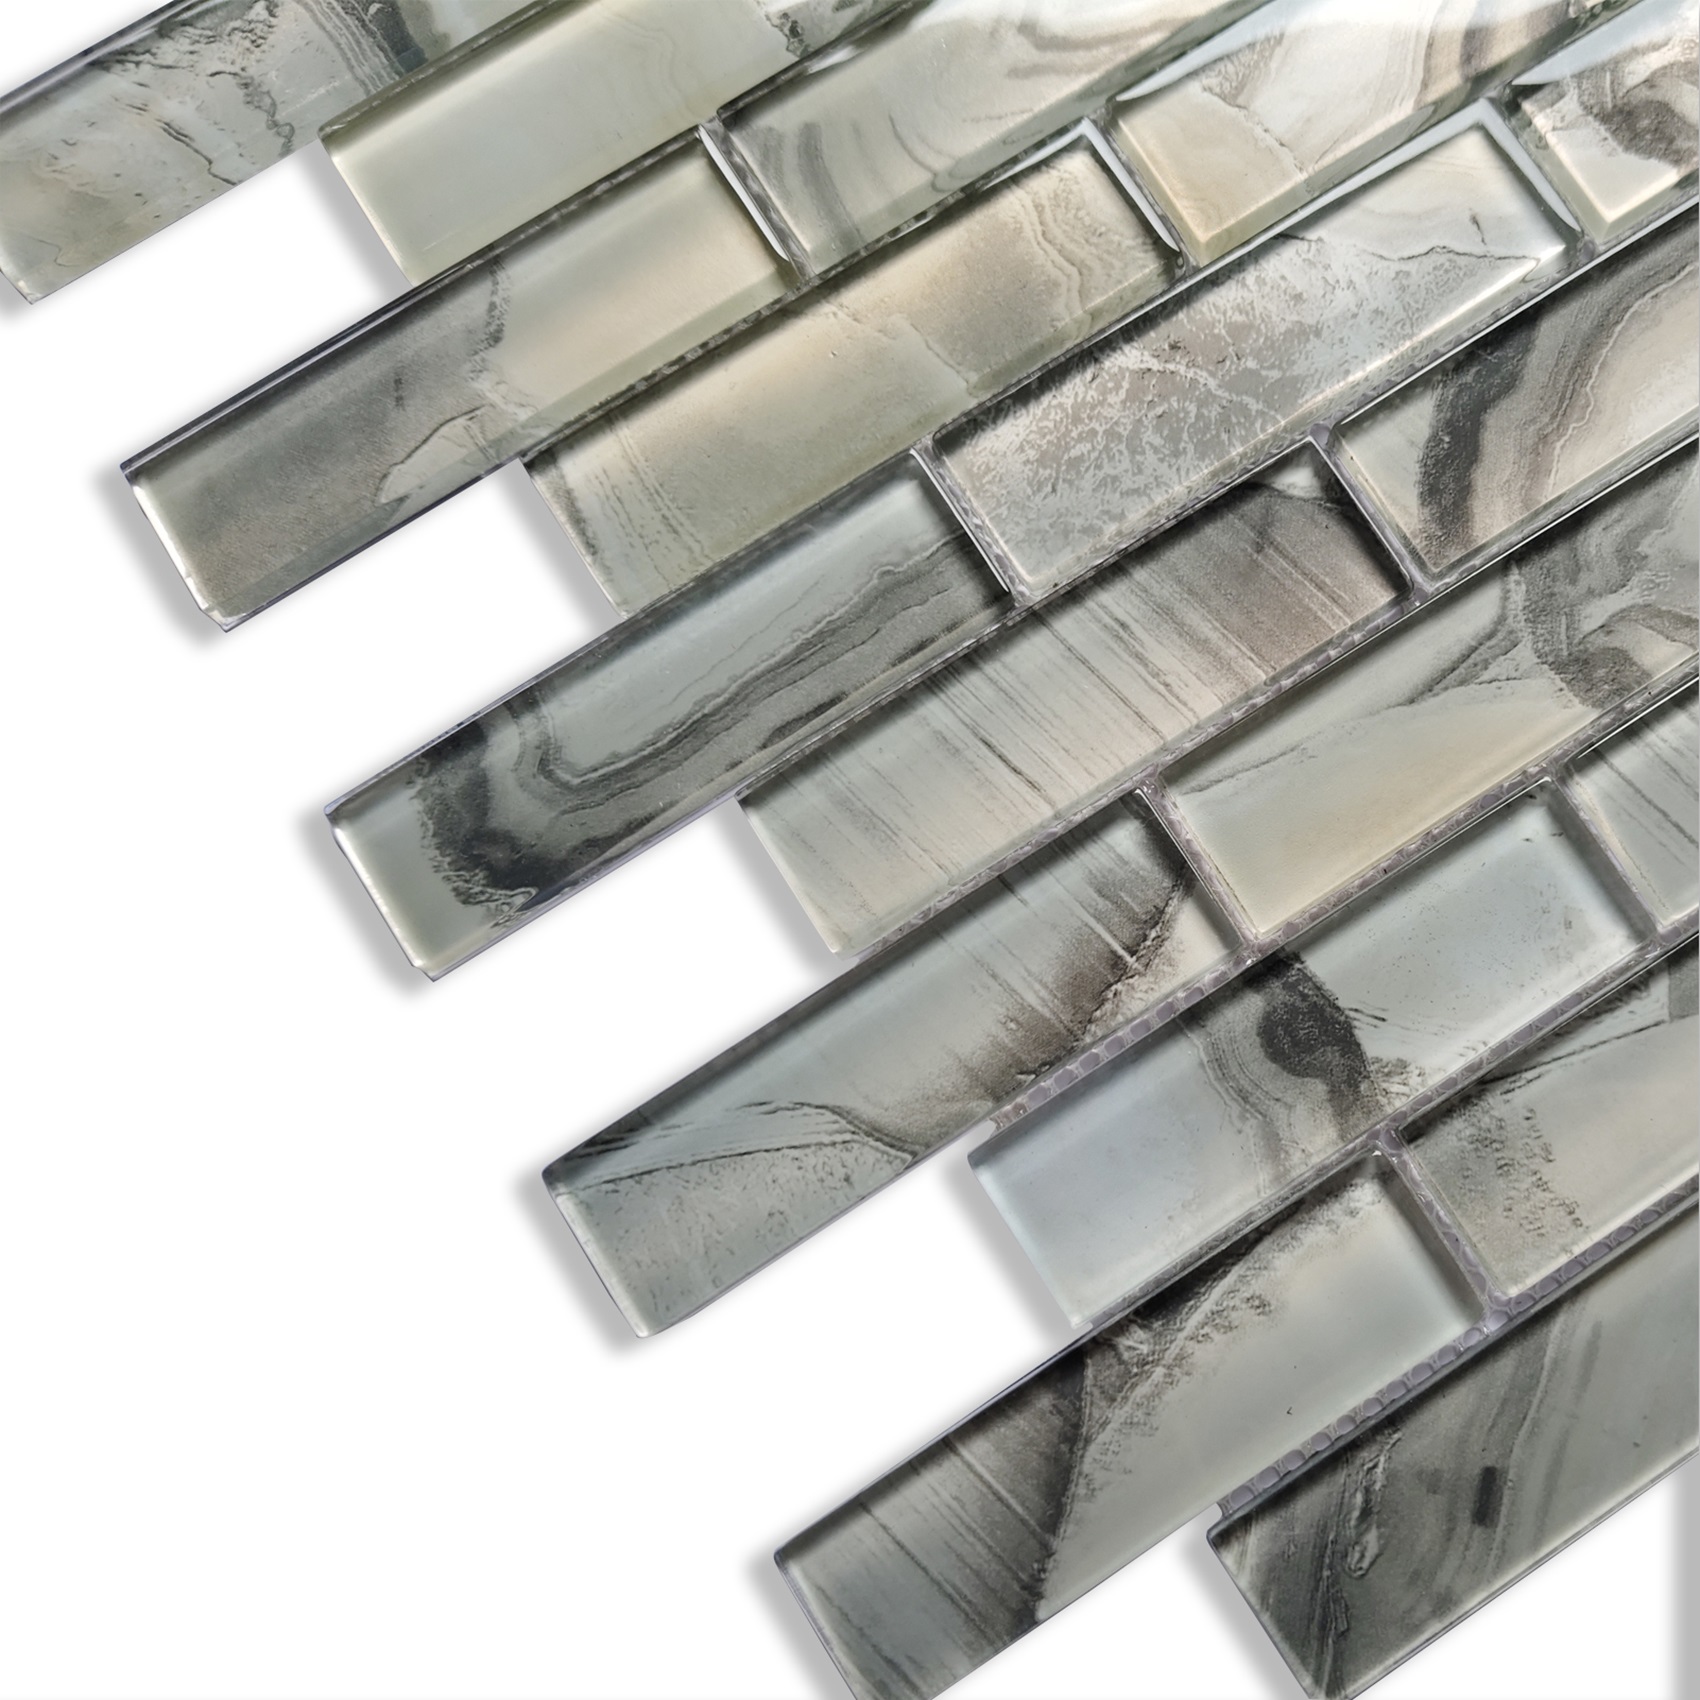
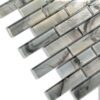
Our exclusive gemstone design sets your space apart, offering a unique aesthetic that enhances any kitchen or bathroom style.
Easy to Clean
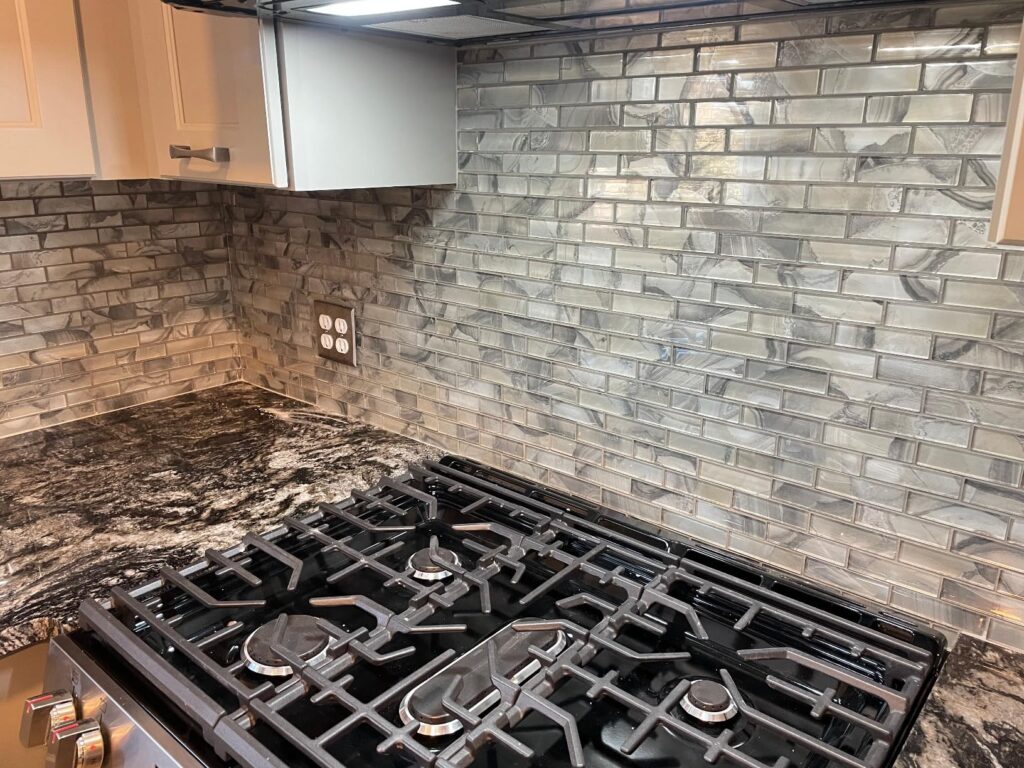
Our tiles are easy to maintain and clean, allowing you to effortlessly wipe away spills and splatters, keeping your kitchen looking fresh and vibrant.
Information about These Glass Mosaic Tile Sheets
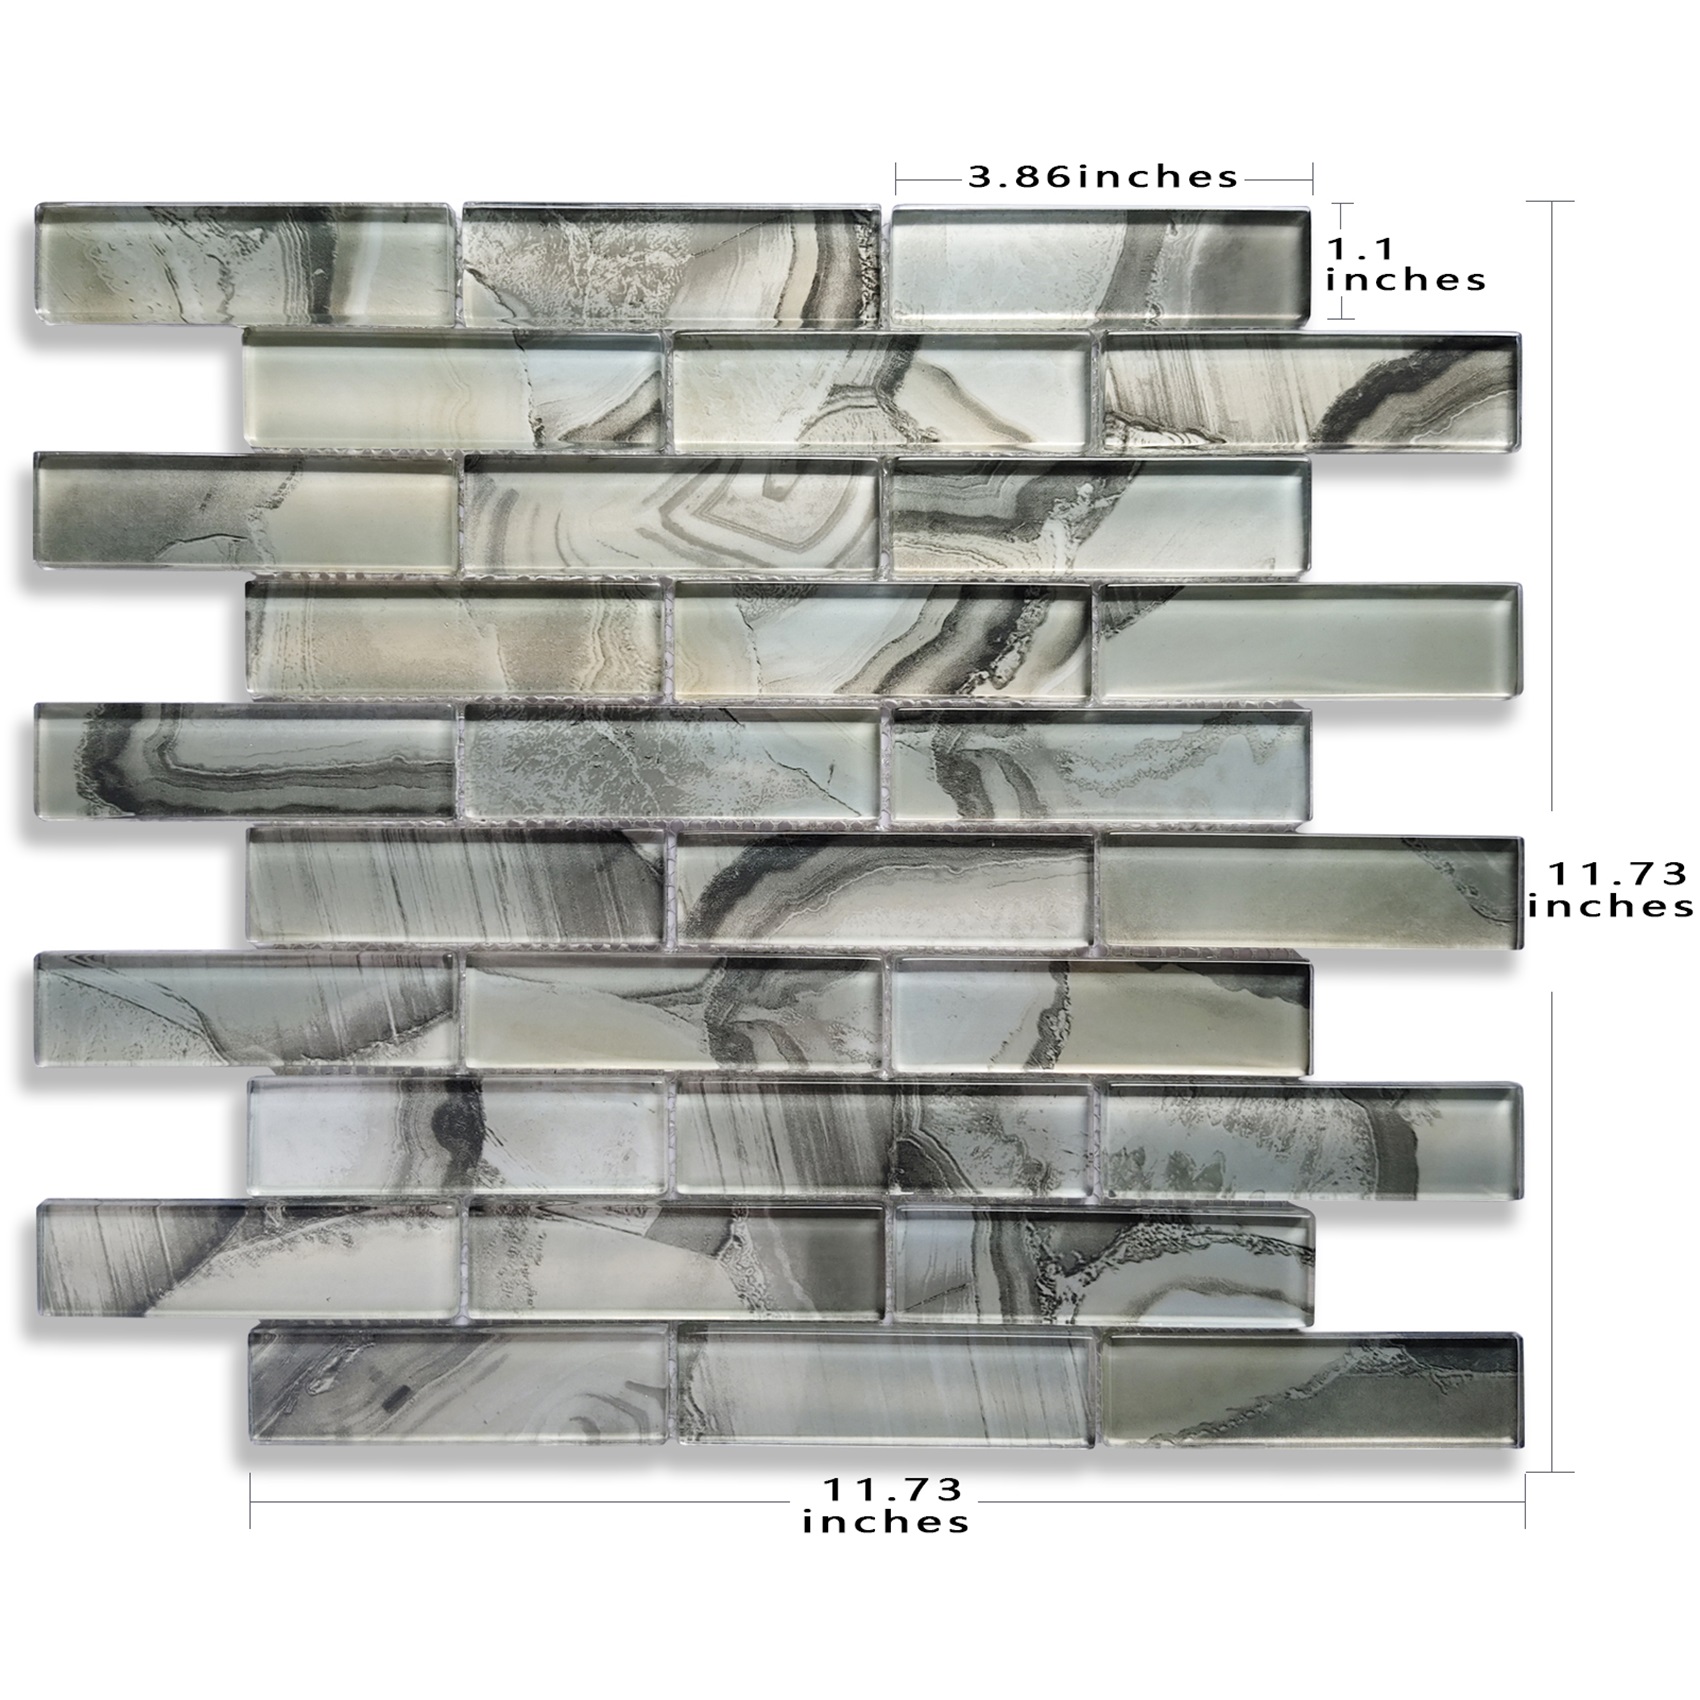
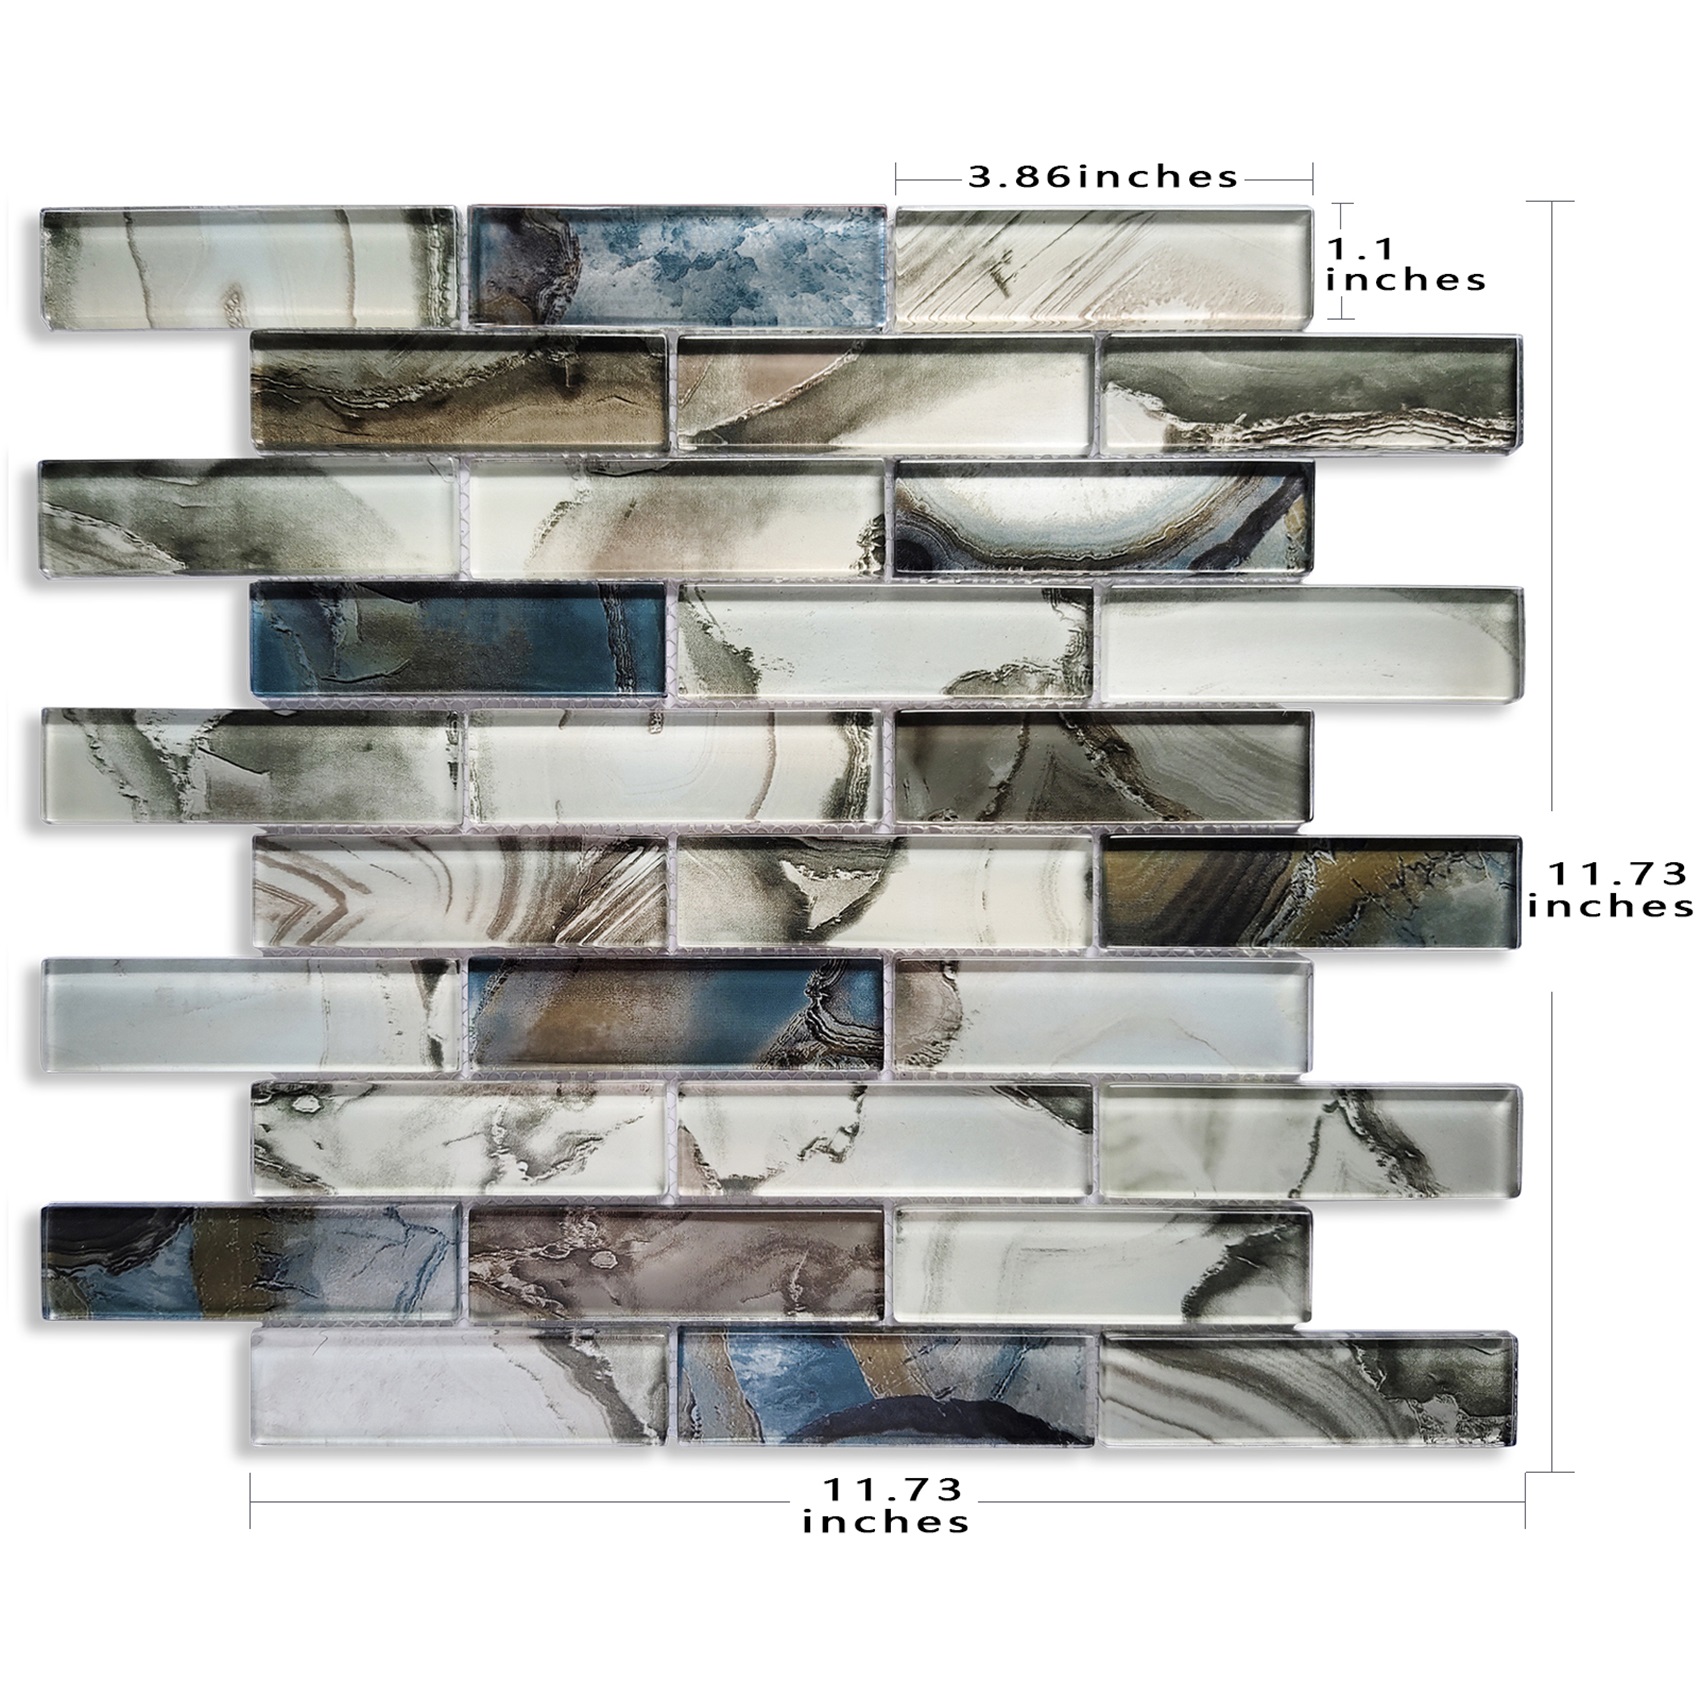
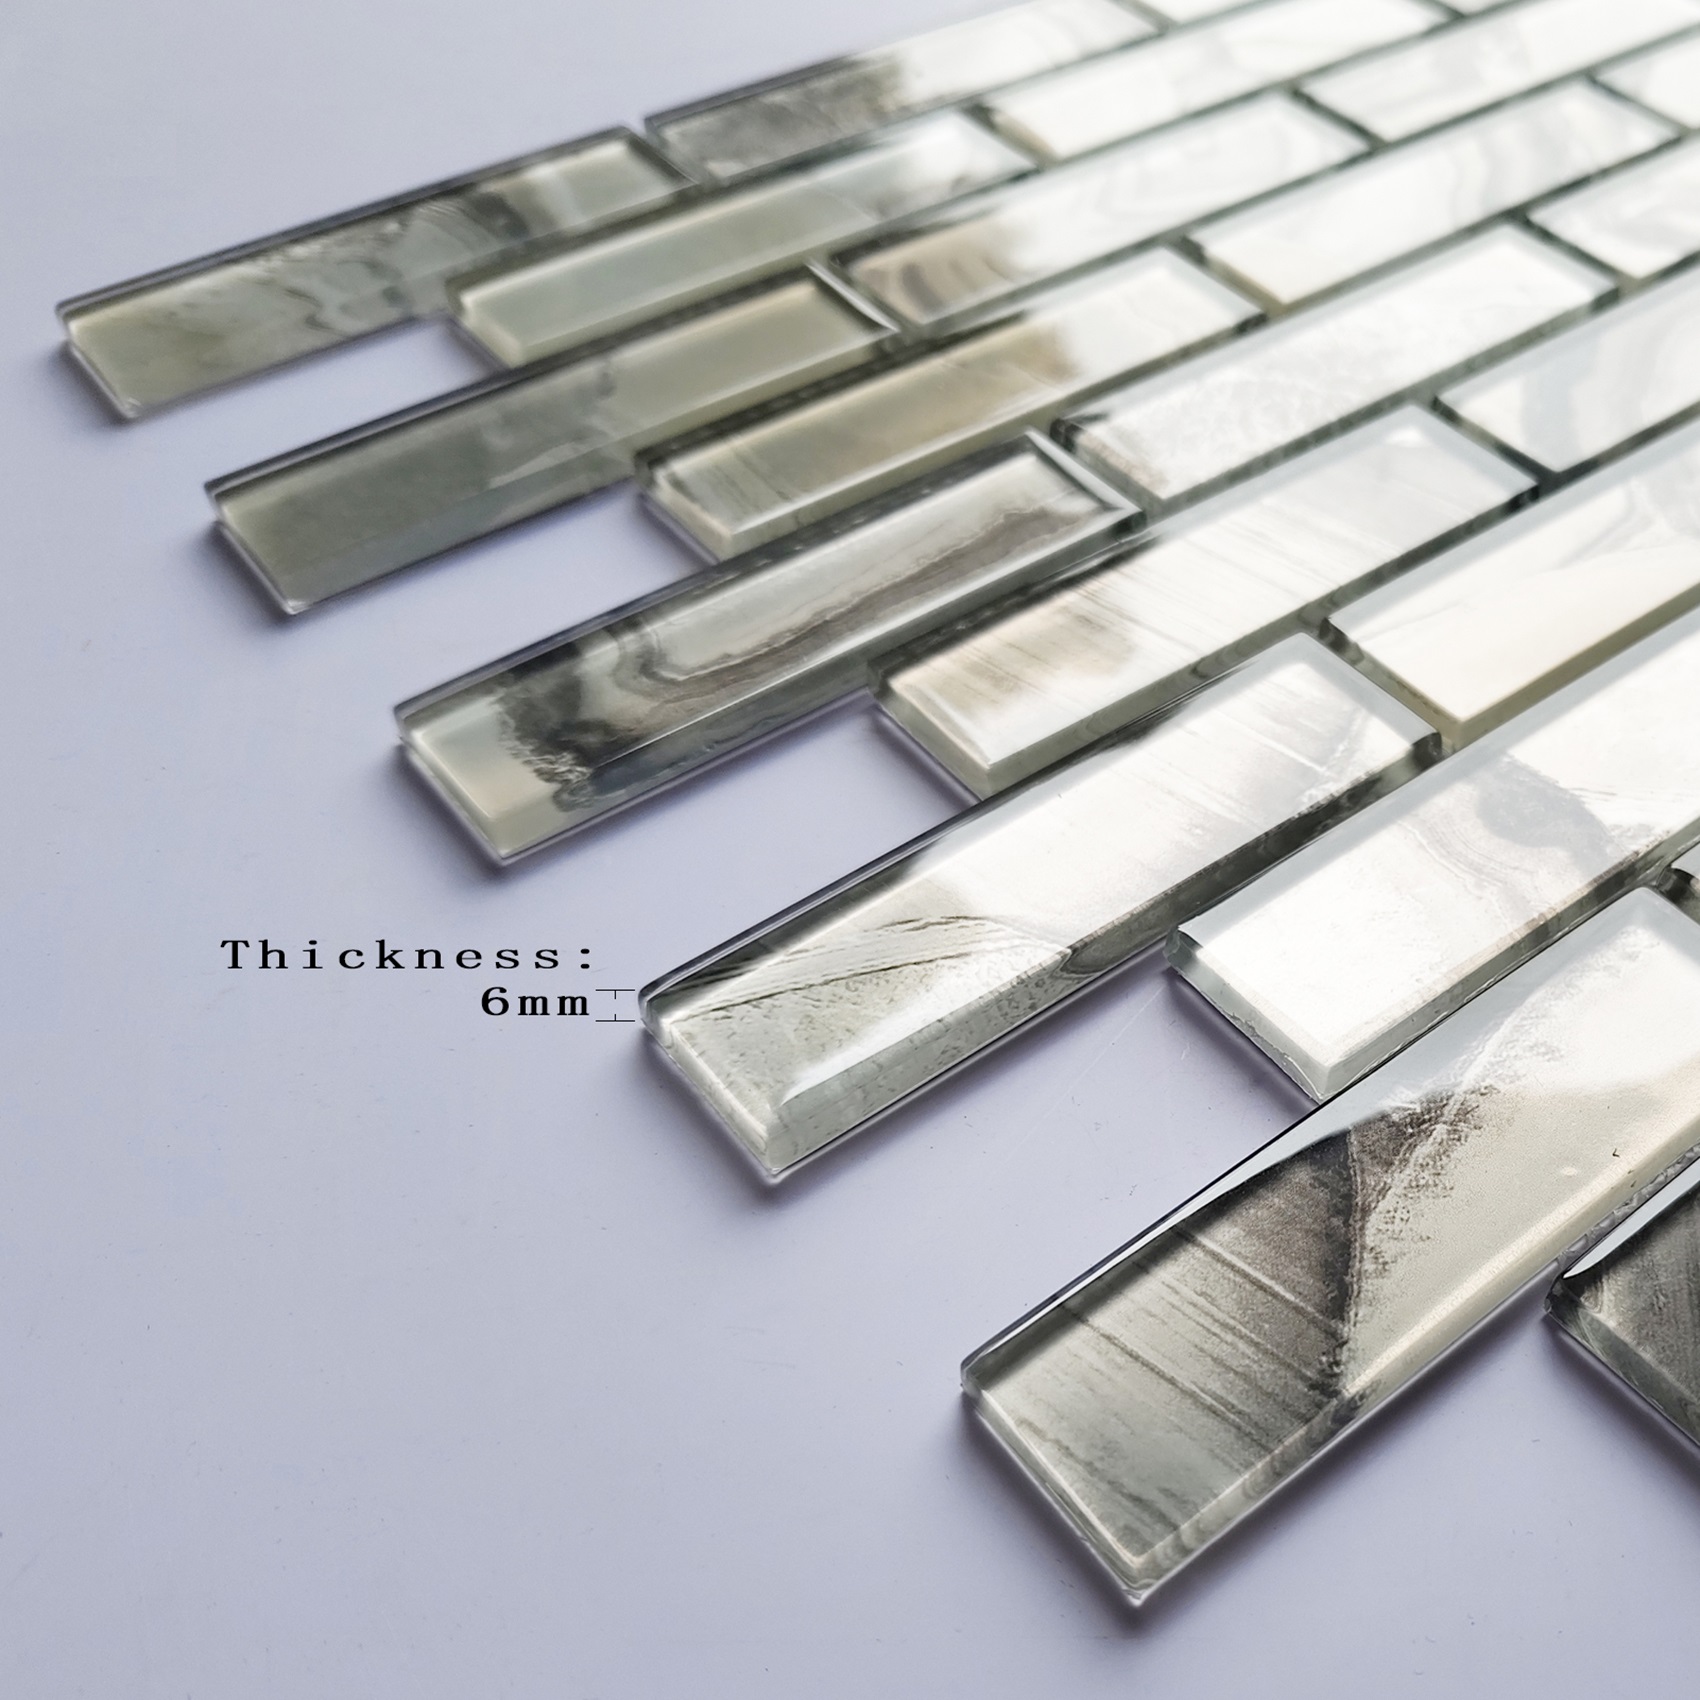
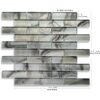
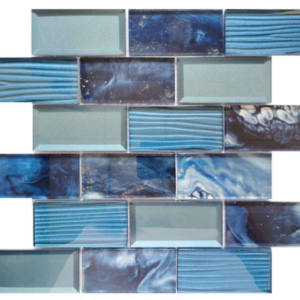
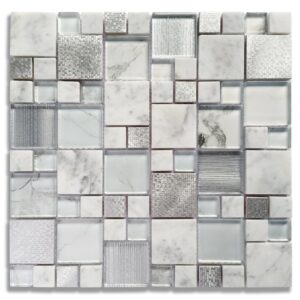
Sheet Size: 11.73×11.73 inches; Individual Mosaic: 1.1×3.86 inches.
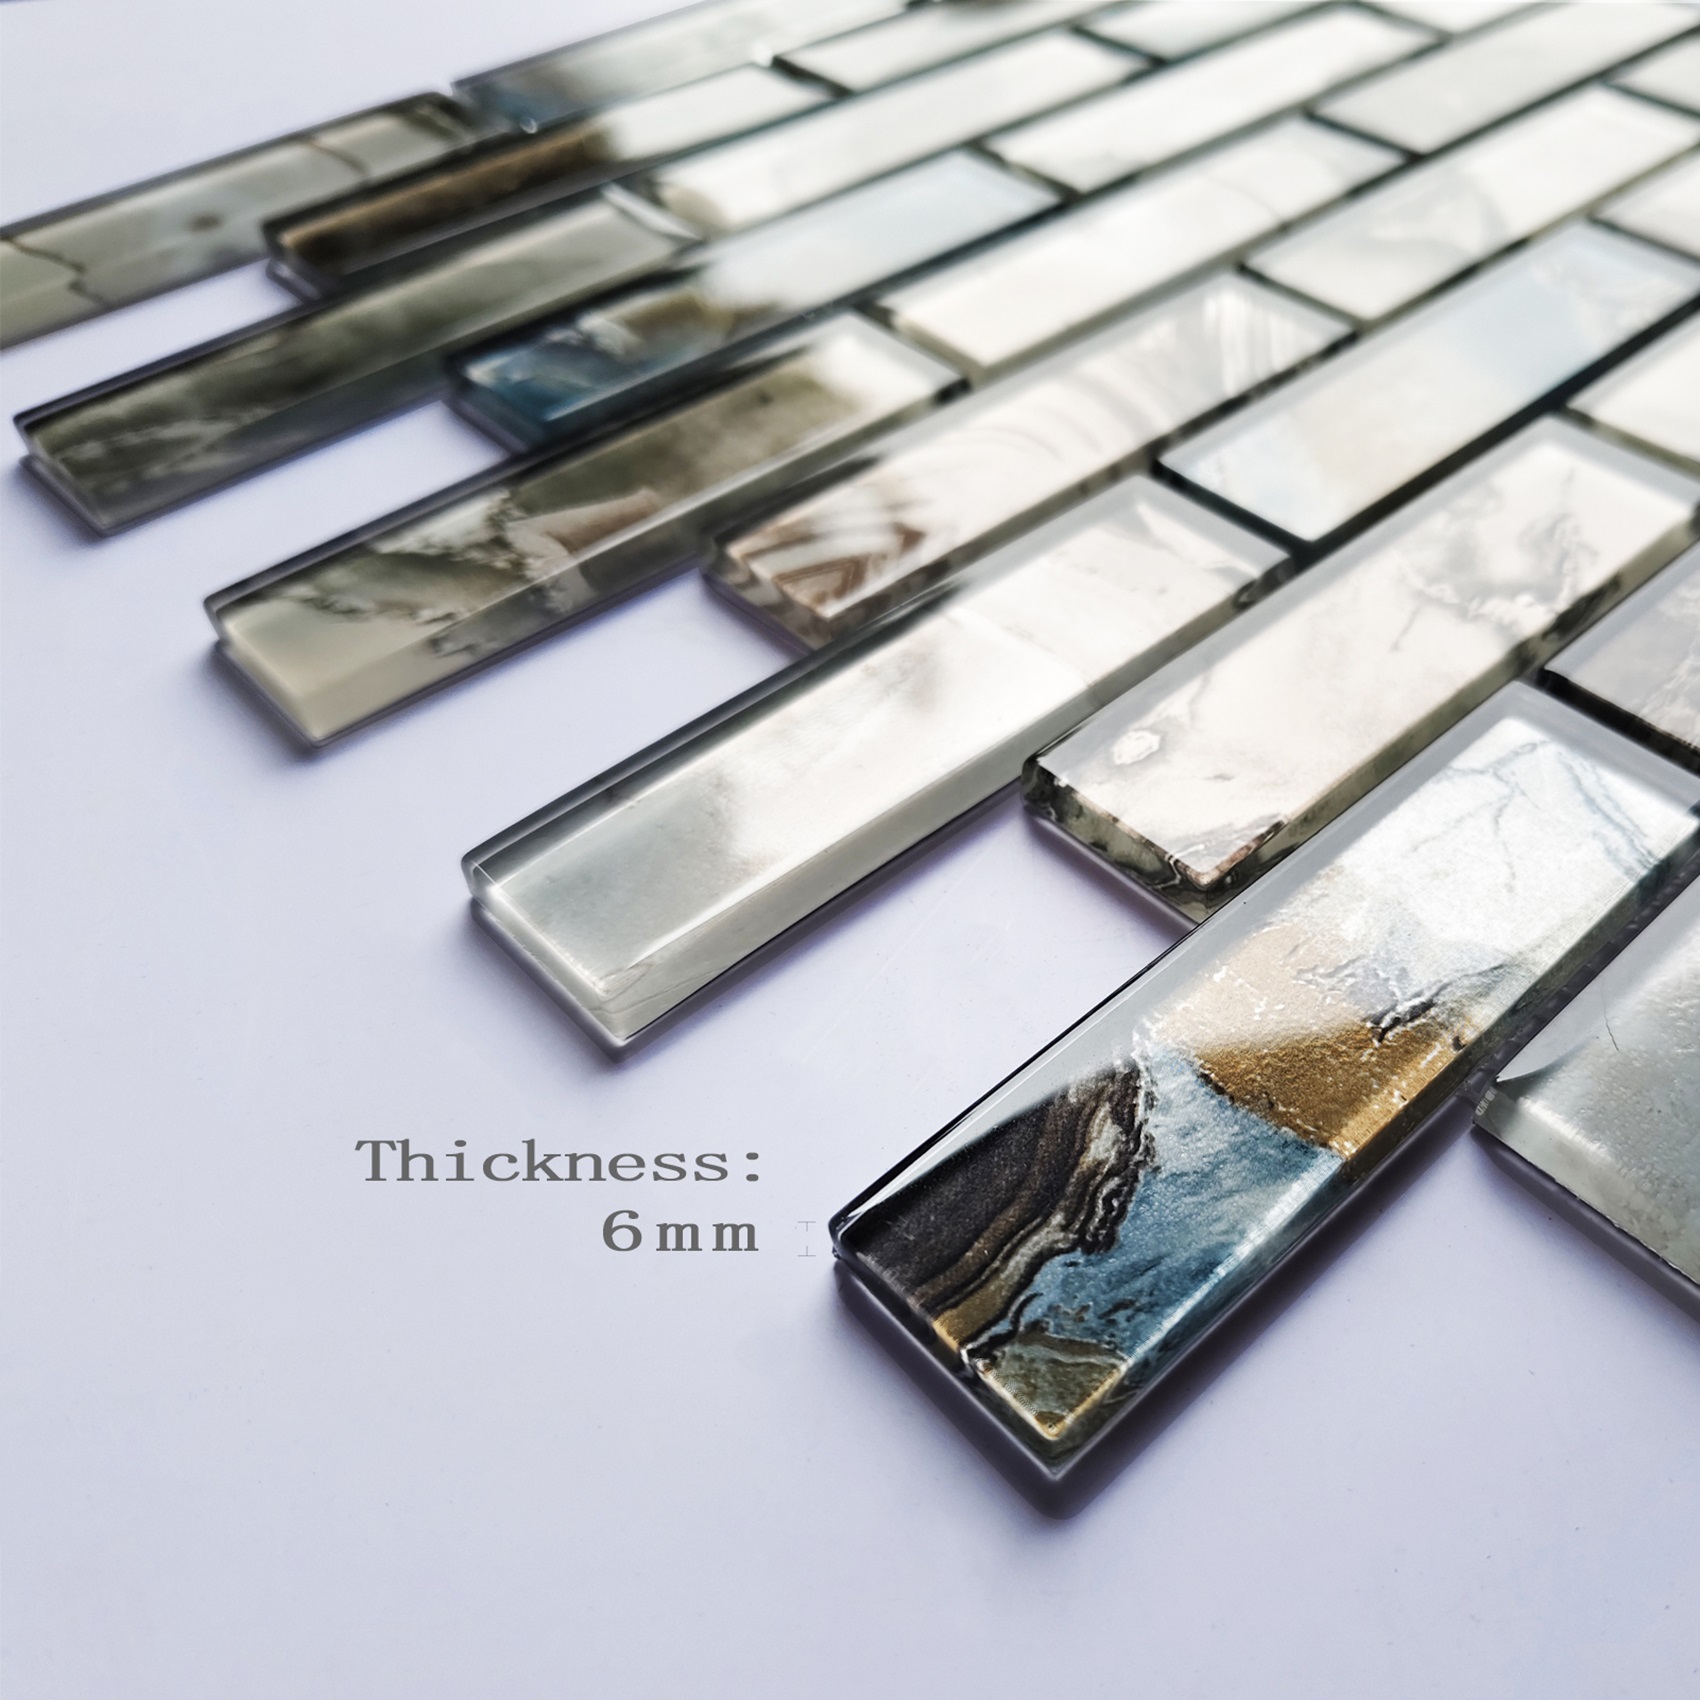
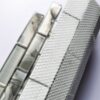
Thickness: 1/4 inches (6 mm); Material: 100% crystal glass.
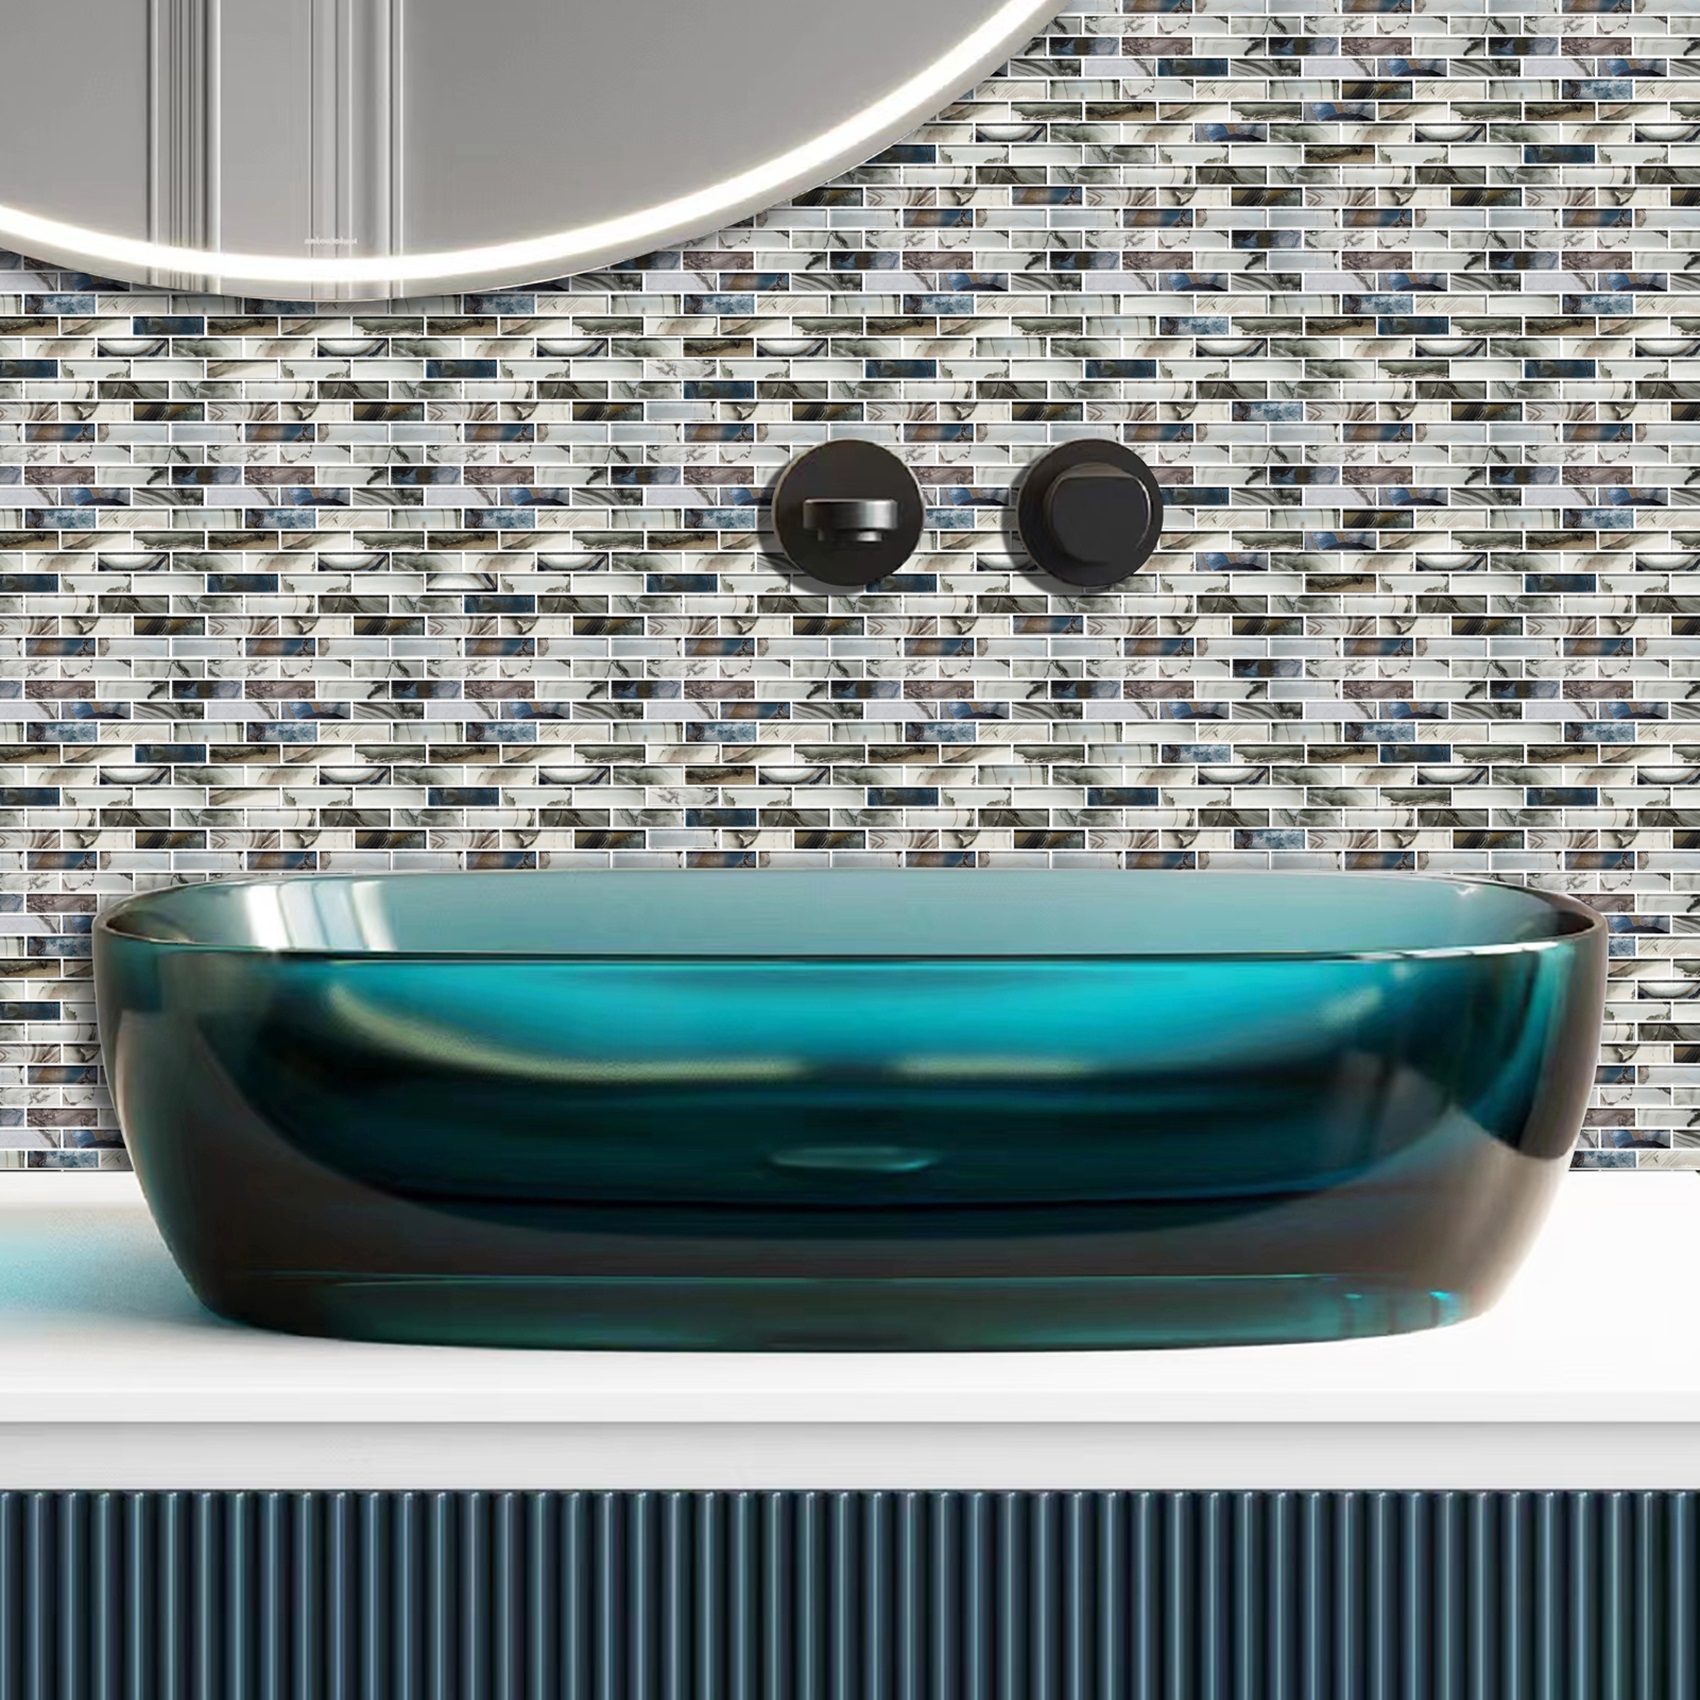
Colors: Antique grey, beige, yellow gemstone.
Style: Modern and American classic style.
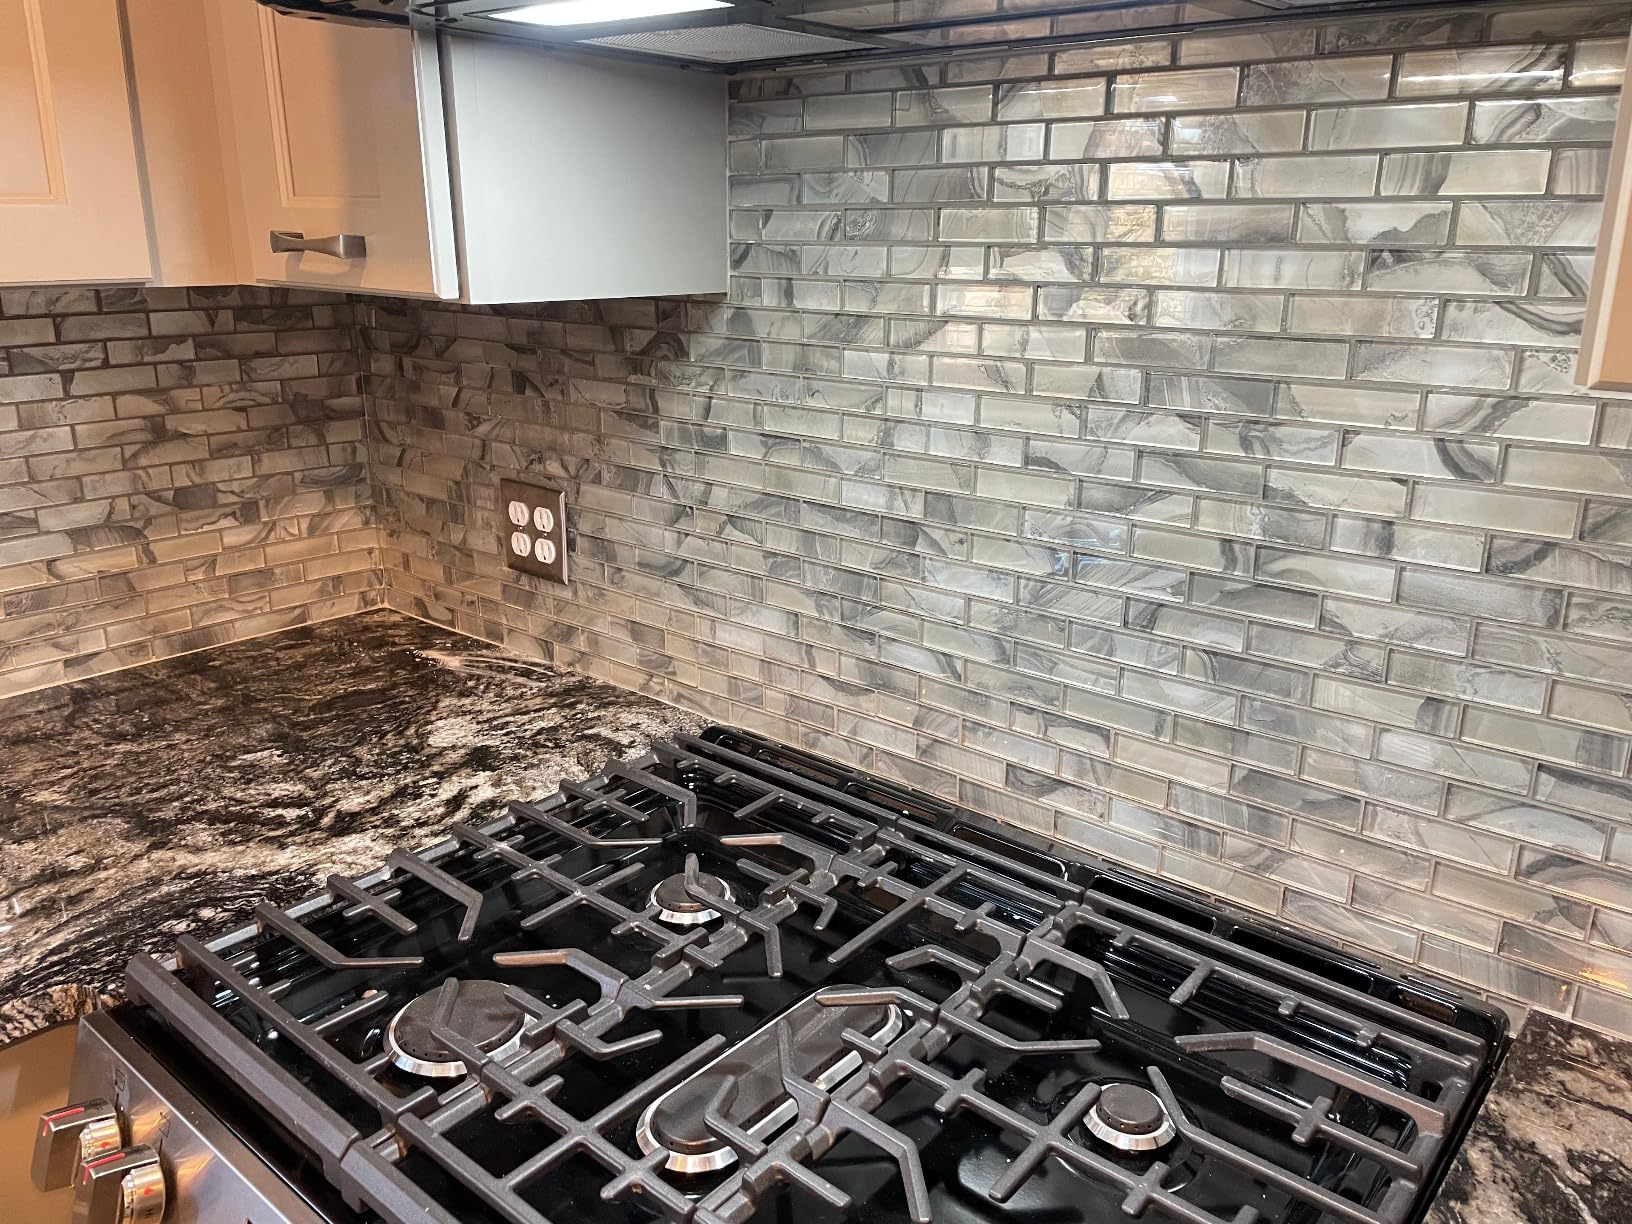
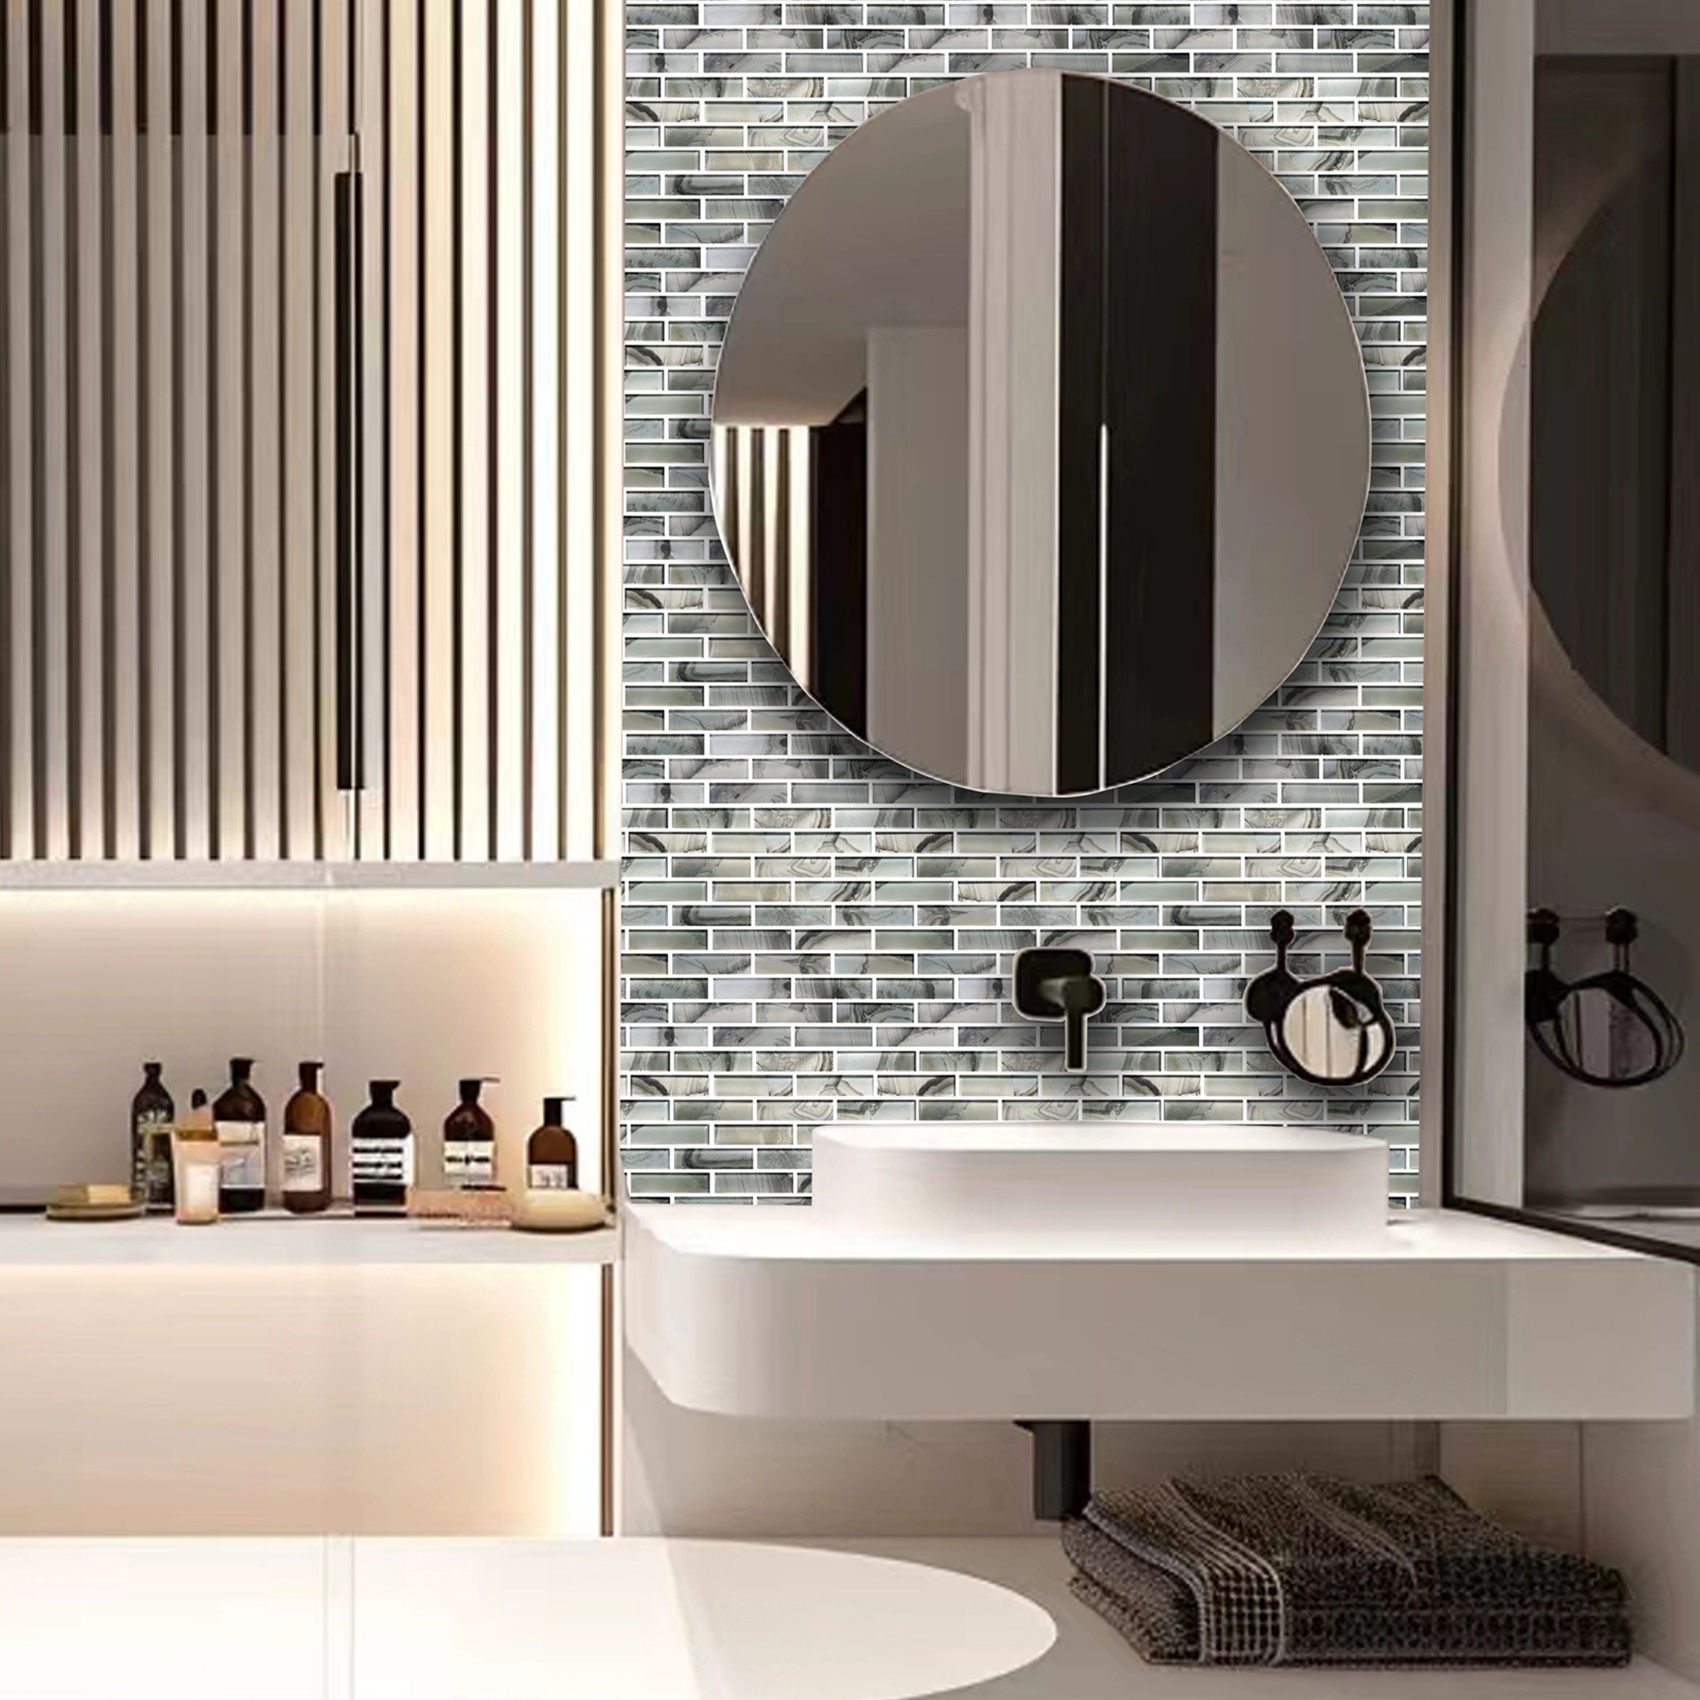
Applications: The glass tiles can be utilized for any wall decoration, including kitchen backsplashes, bathroom backsplashes, kitchen tiles, sink backsplashes, bathtub areas, fireplace tiles, laundry room backsplashes, shower wall tiles, mural decorations, accent tiles, and so on.
Artemuro Tiles Brand
Artemuro focus on developing high grade and original design mosaics backsplash tiles for years. Our mission is to brighten your home with high-quality products. Each tile is crafted from luxury glass, meticulously designed and manufactured to ensure a perfect blend of beauty and durability, add a touch of sophistication to your home decor. Suitable for wall decoration in kitchens, bathrooms, fireplace, living rooms, and more. We wish you enjoy the DIY time. We will constantly develop more new backsplash tiles with extra creativity, materials and colors added based on customers’ feedback.
4 Steps for Installing Glass Mosaic Tiles
Mesh-mounted glass tiles are quite simple to install. You can cut the sheets of tiles by cutting the mesh. Moreover, you can effortlessly put the tile sheets one by one and make any necessary adjustments during the installation process.
1. Prepare the wall areas and gather the tools: Make sure the wall surface is clean, smooth, and free of any debris or imperfections. Gather all the tools required for the installation, such as trowels, spacers, and a cutting tool.
2. Apply mortar on the wall backsplash: Use an appropriate mortar and evenly spread it on the area where you’ll be installing the tiles. Make sure to follow the manufacturer’s instructions regarding the thickness and application method.
3. Place the tile sheets one by one on the wall: Carefully position each sheet of tiles onto the mortar-covered wall, pressing gently to ensure good adhesion. You can make adjustments as needed to get them in the right alignment.
4. Use non-sanded grout to grout the tiles upon completion: Once the tiles are properly installed, apply non-sanded grout to fill the gaps between the tiles. Smooth it out evenly and clean off any excess grout to achieve a neat and finished look.







Reviews
There are no reviews yet.